nexus
1. 下载
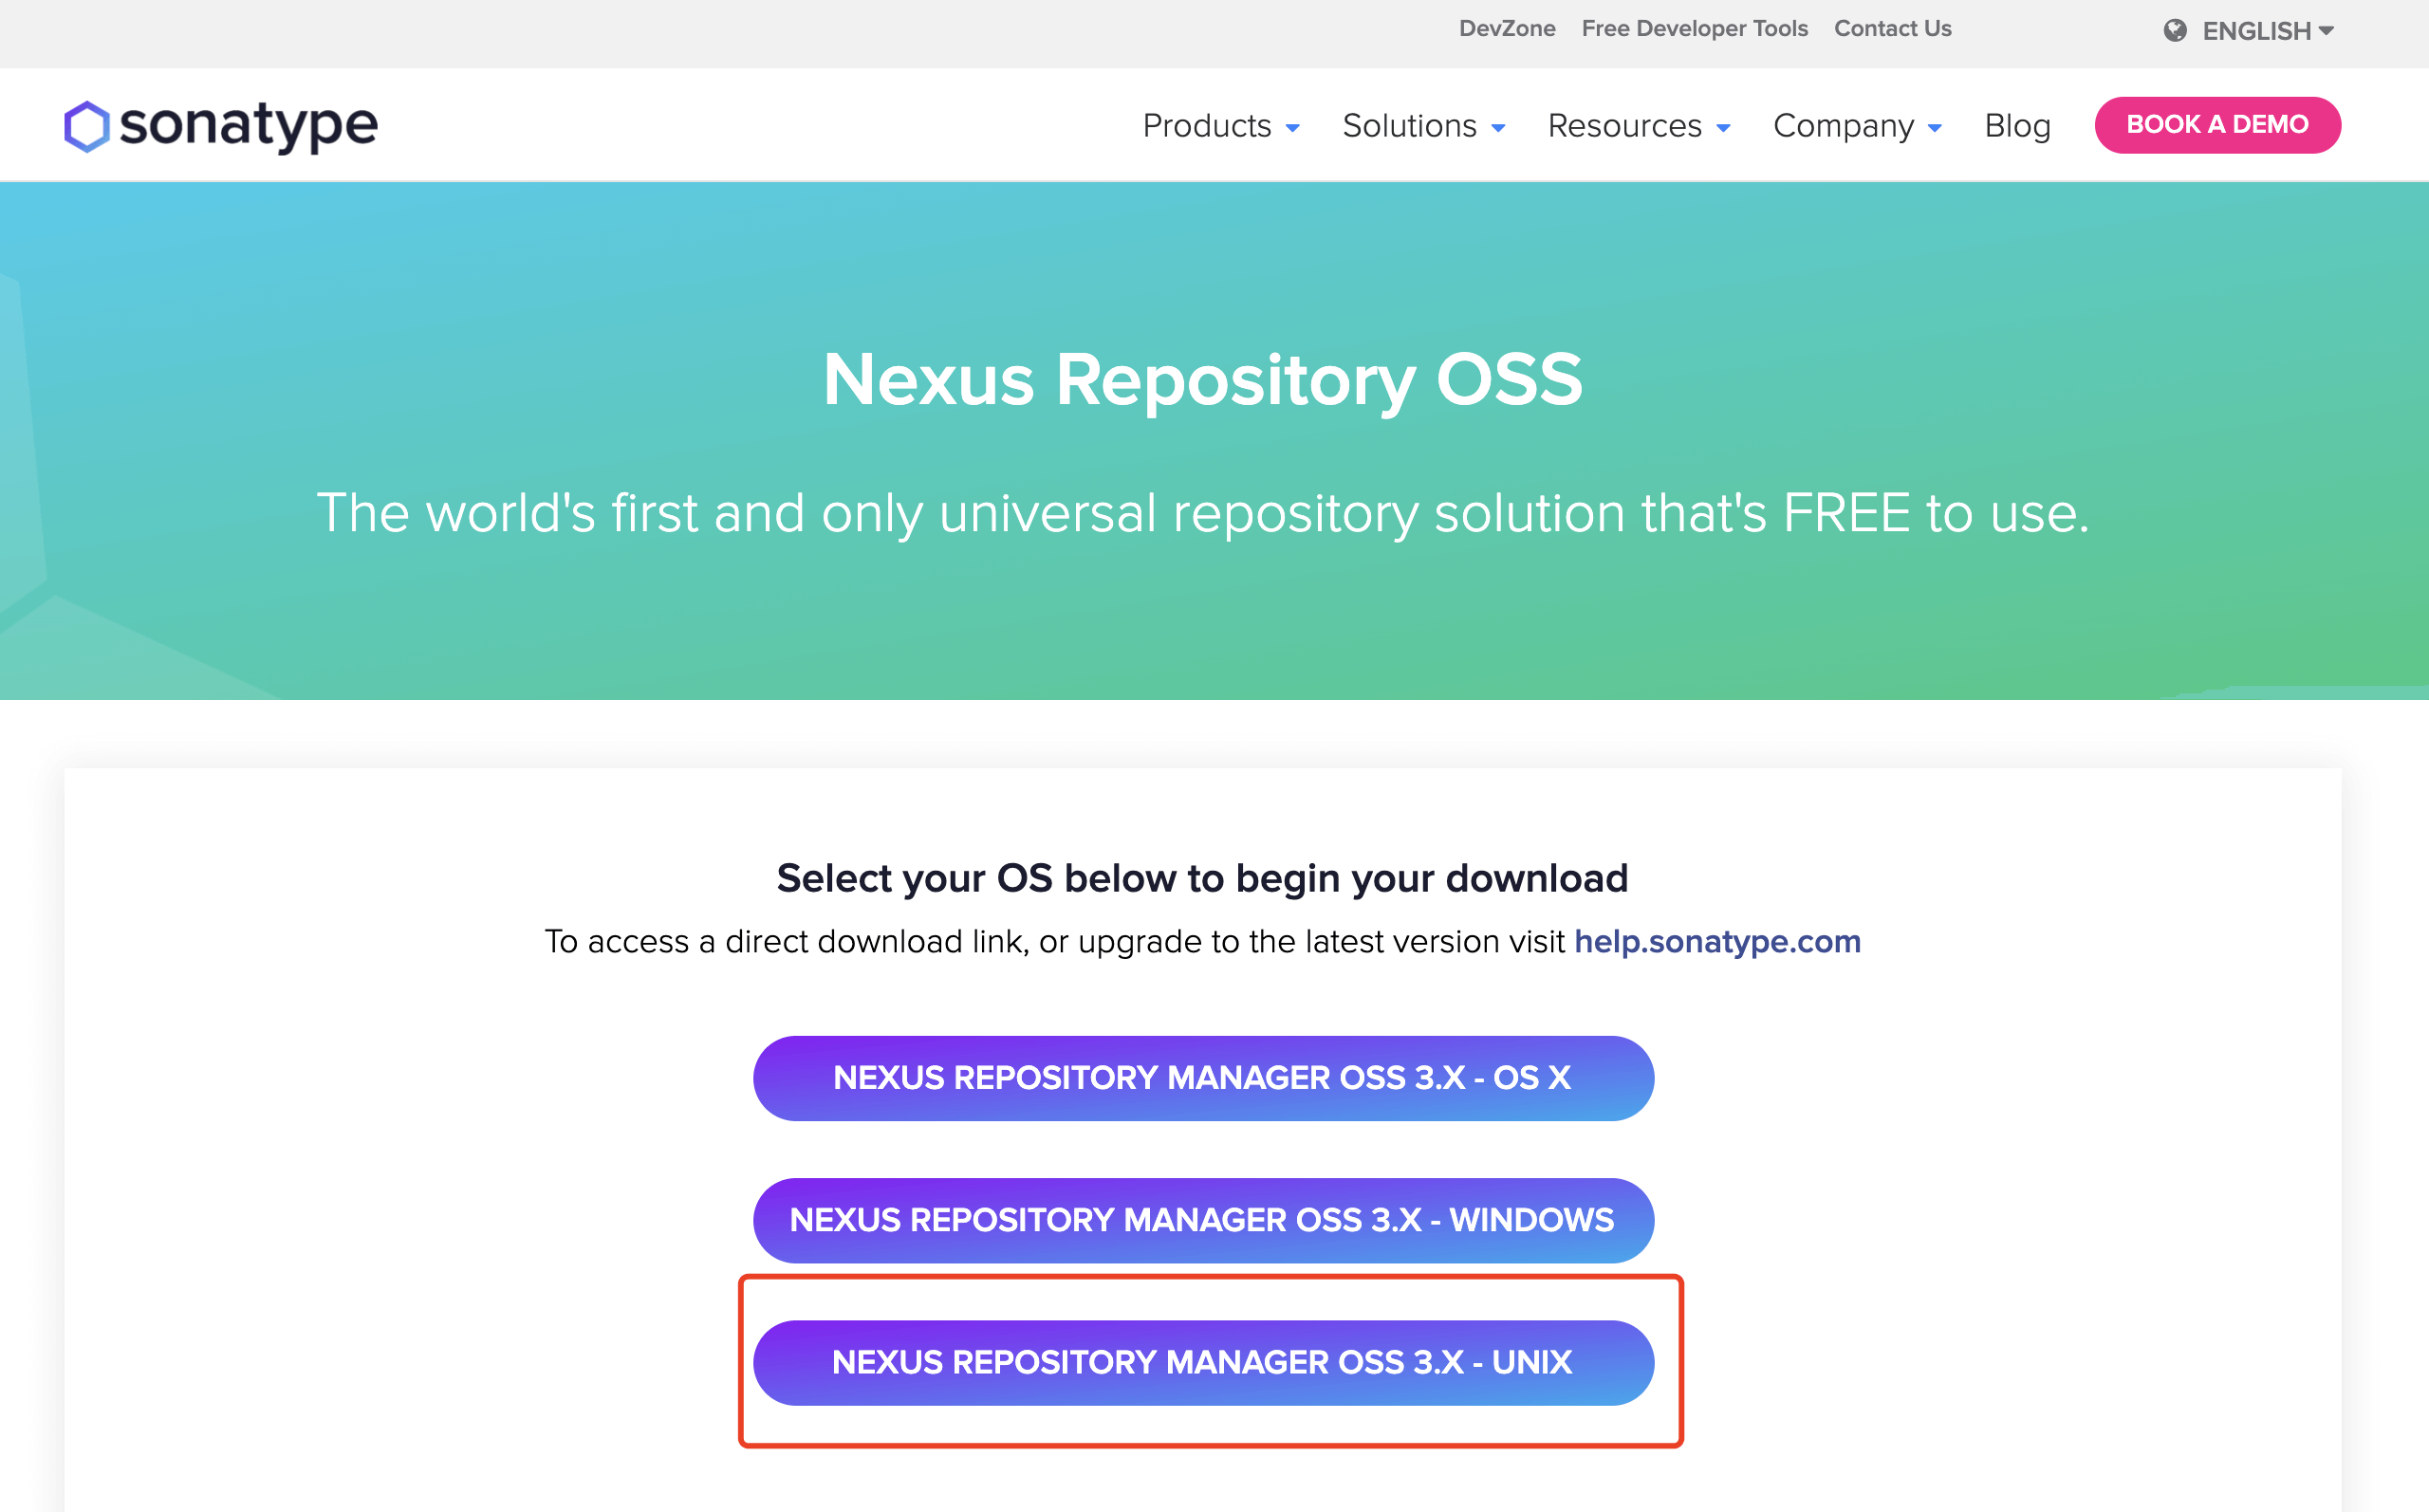
进入官网下载对应版本,本文以 3.4.0-02为例。
2. 安装
- 将压缩包进行解压
sh
tar xf nexus-3.4.0-02-unix.tar.gz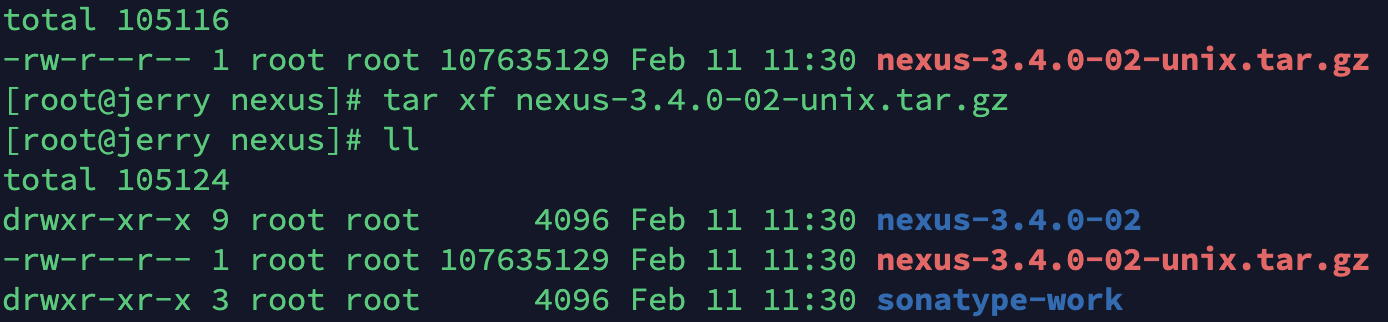
- 配置环境变量
sh
export NEXUS_HOME="安装路径"
PATH=$PATH:$NEXUS_HOME/bin
export PATH
- 修改配置
bash
#启动用户校验
sed -i "s/run_as_root=true/run_as_root=false/g" nexus
#启动用户
echo "run_sa_user="root"" > nexus.rc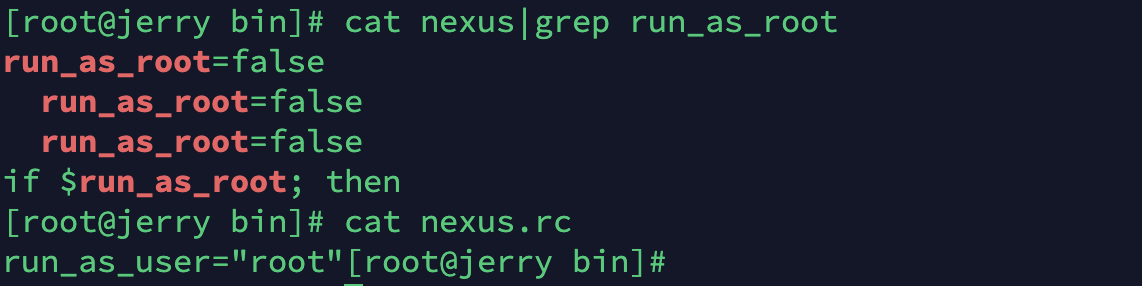
- 查看配置
bash
cat nexus-default.properties
- 启动
sh
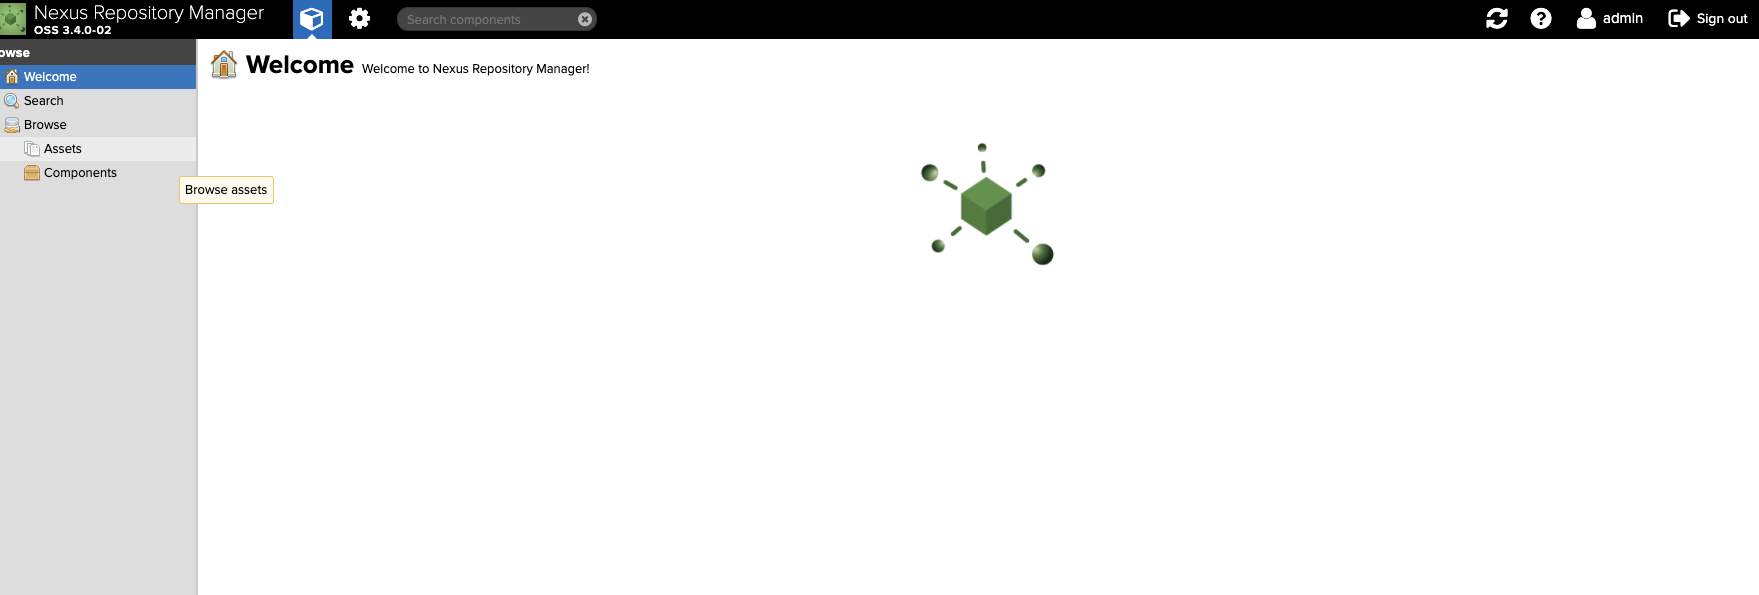
nexus start- 验证是否安装成功
浏览器访问 http://IP地址:8081,输入 admin/admin123
3. 其他
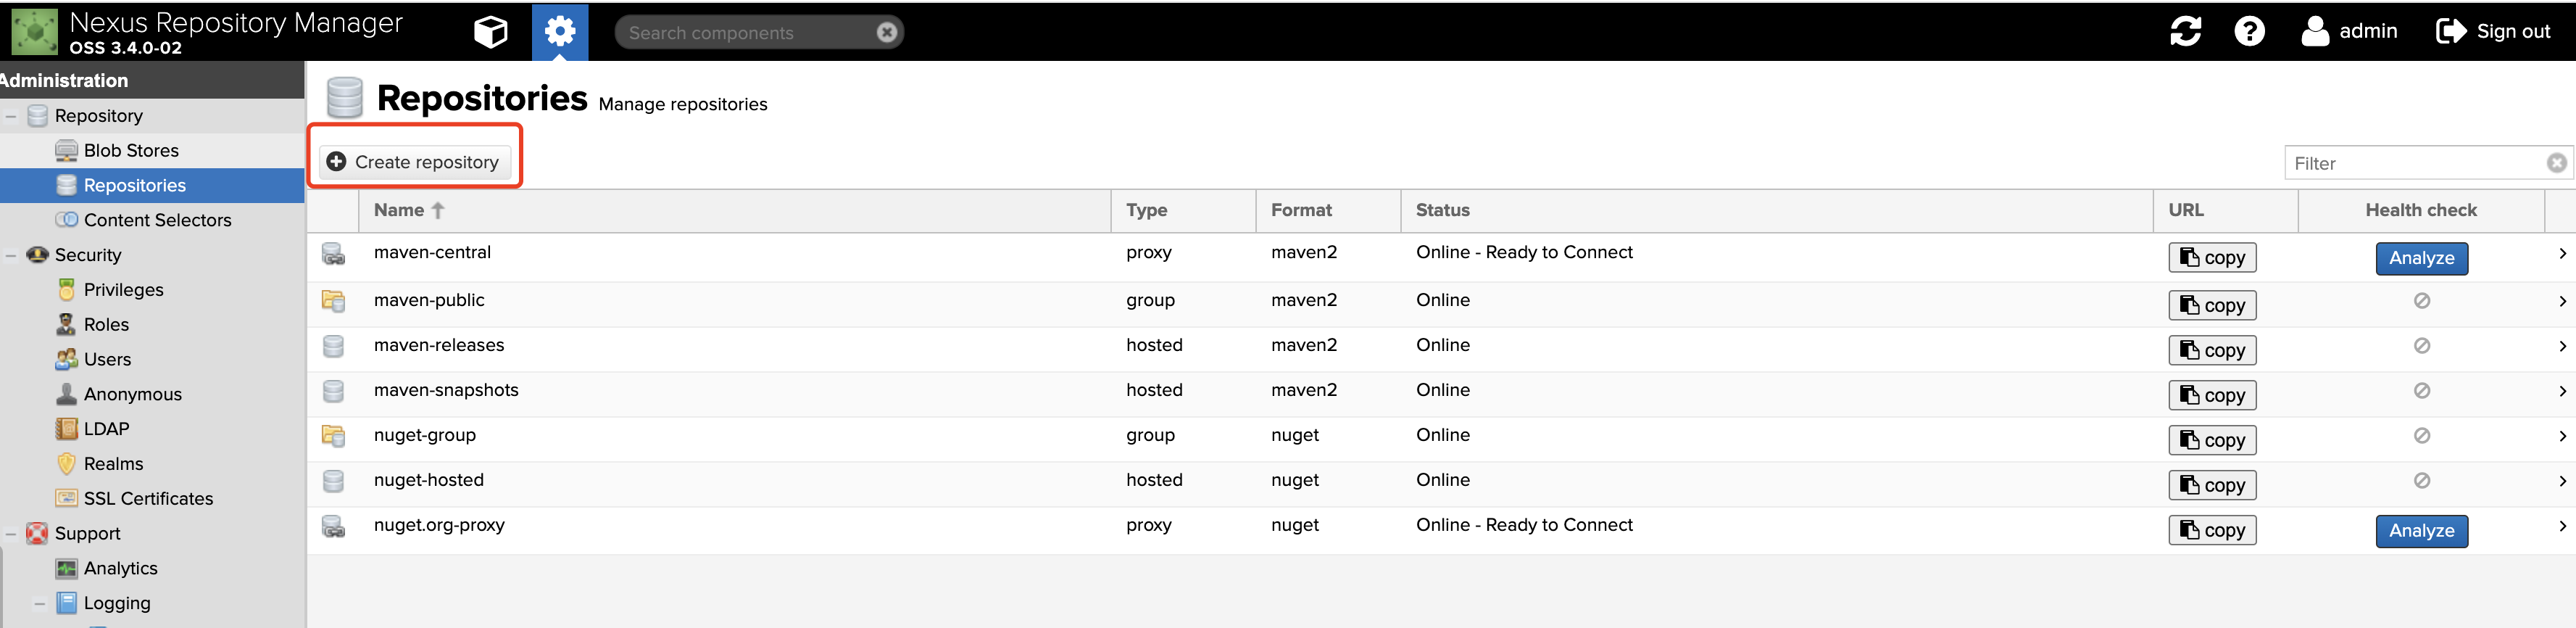
1. 配置第三方代理仓库
- 点击create repository
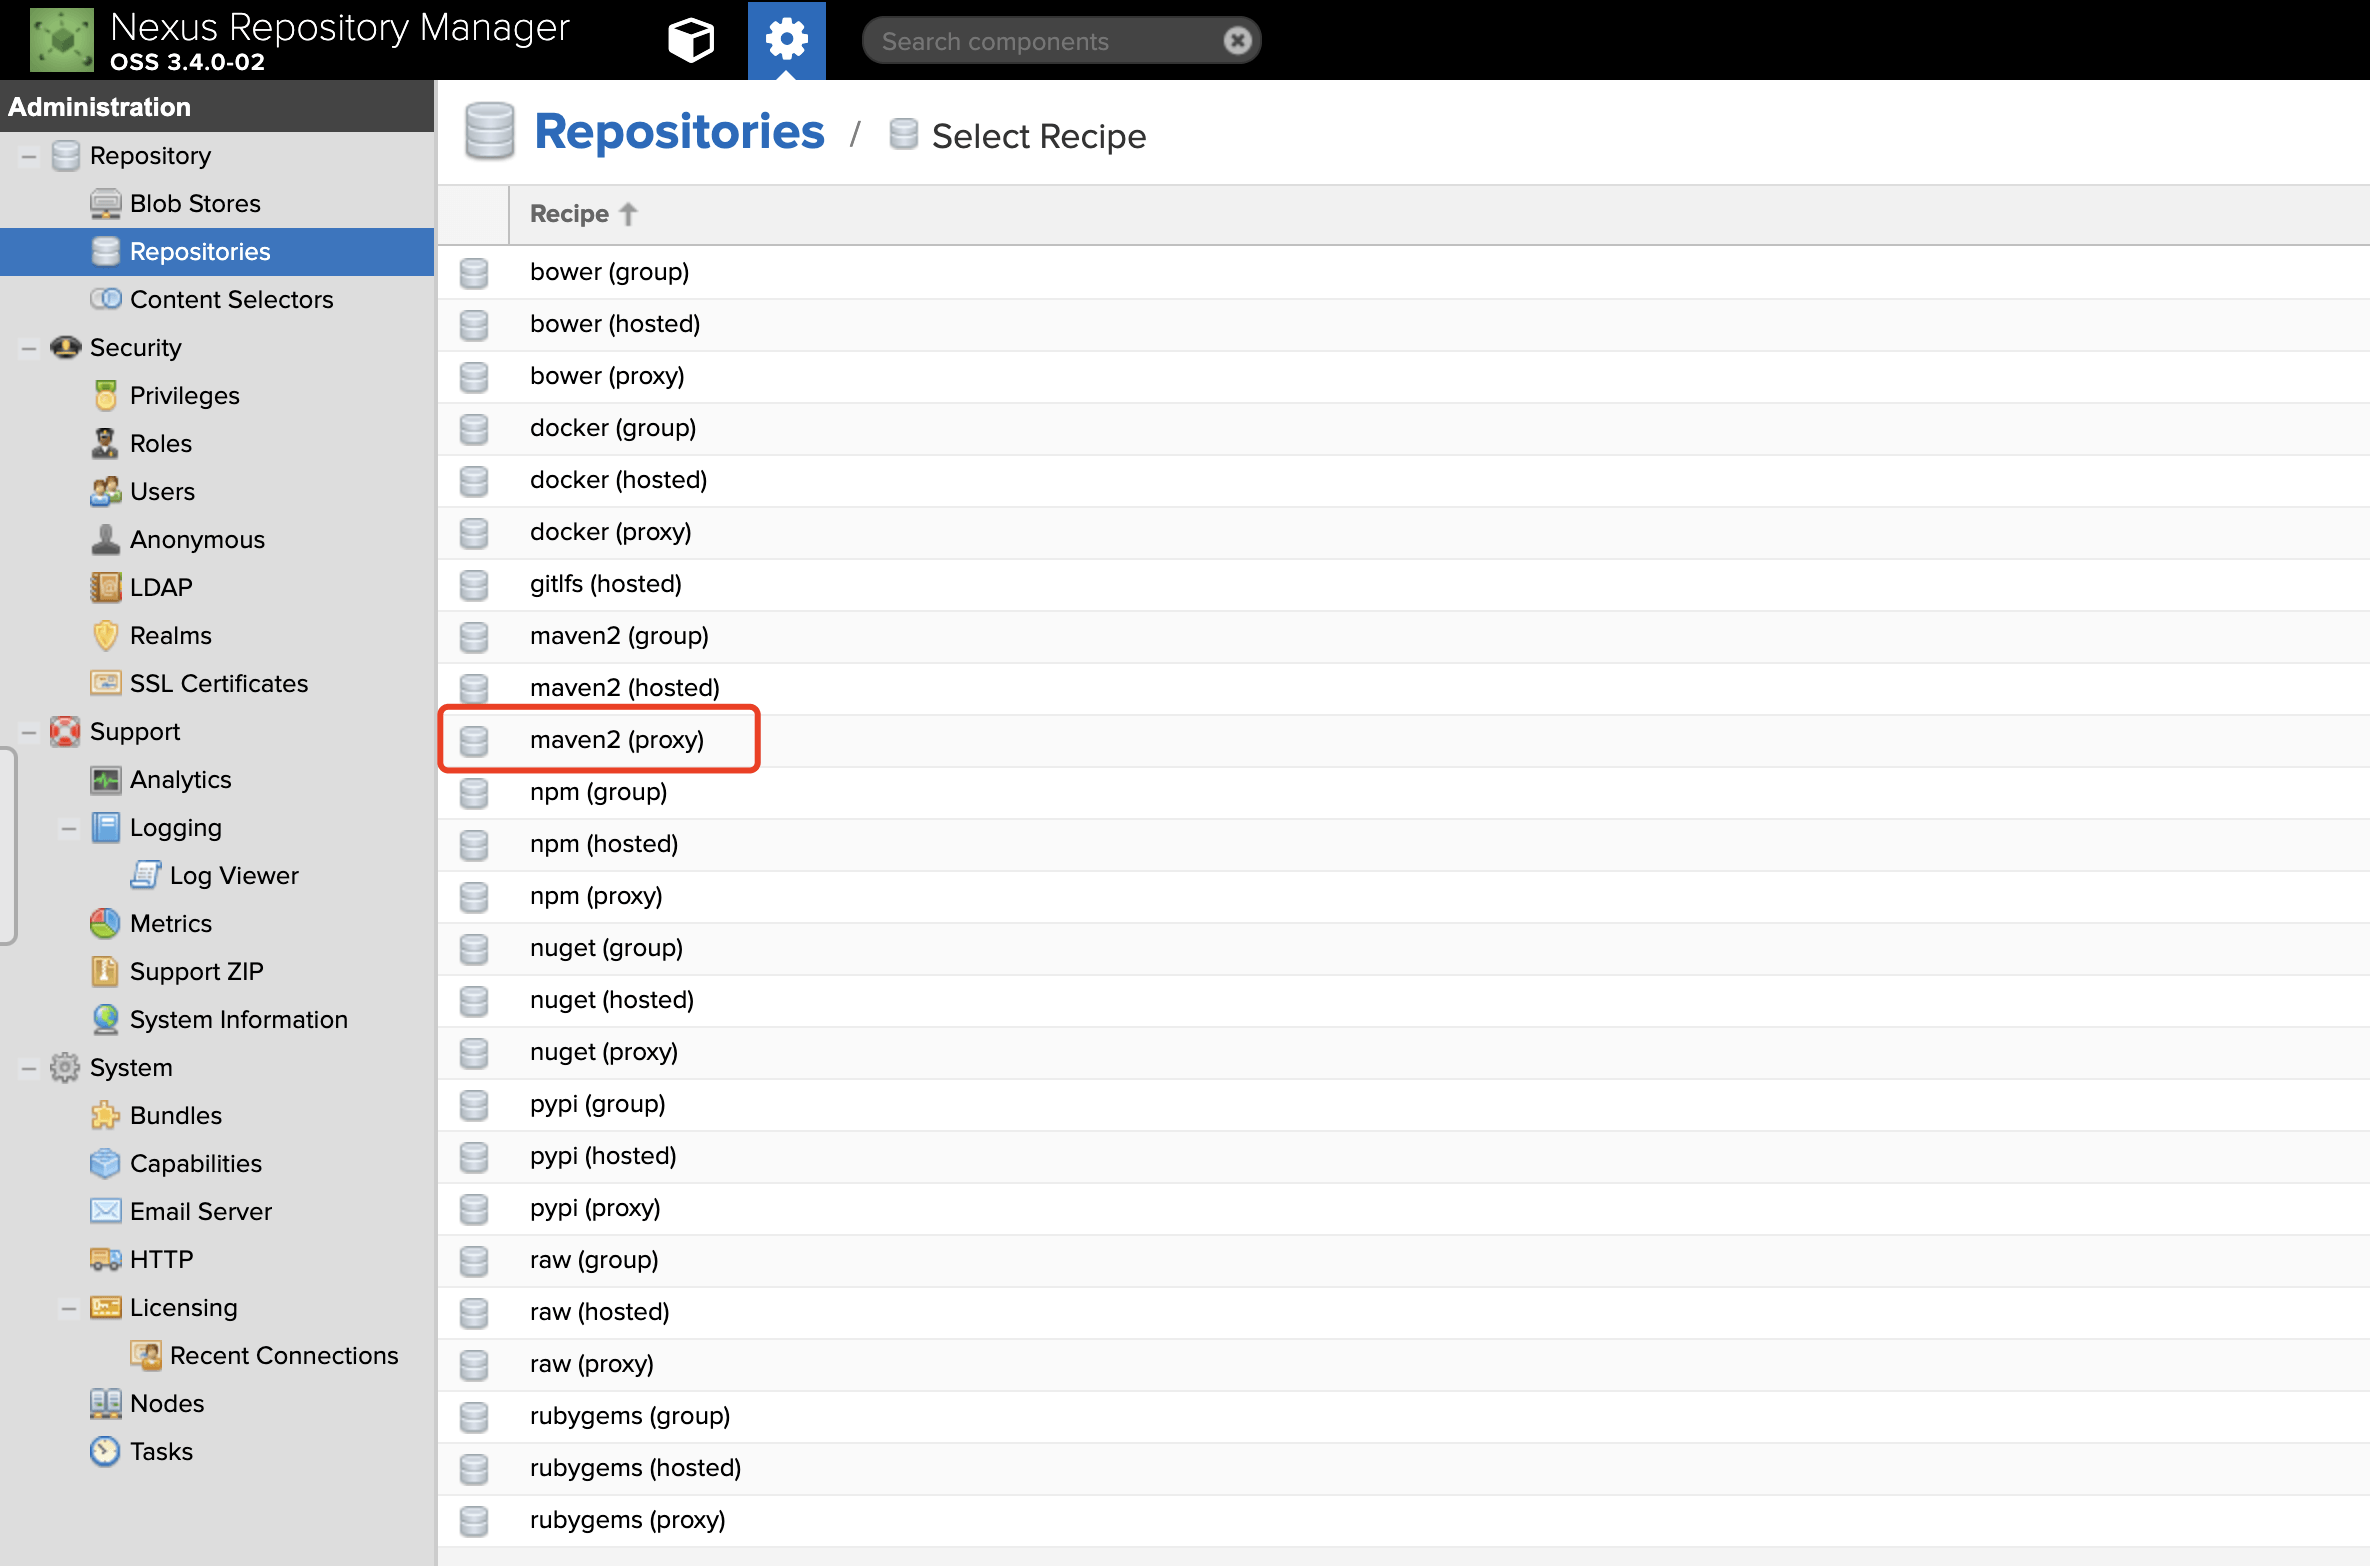
- 选择maven2(proxy)
- 设置remote storage
bash
https://mirrors.huaweicloud.com/repository/maven/
http://mirrors.cloud.tencent.com/nexus/repository/maven-public/
https://repo1.maven.org/maven2/
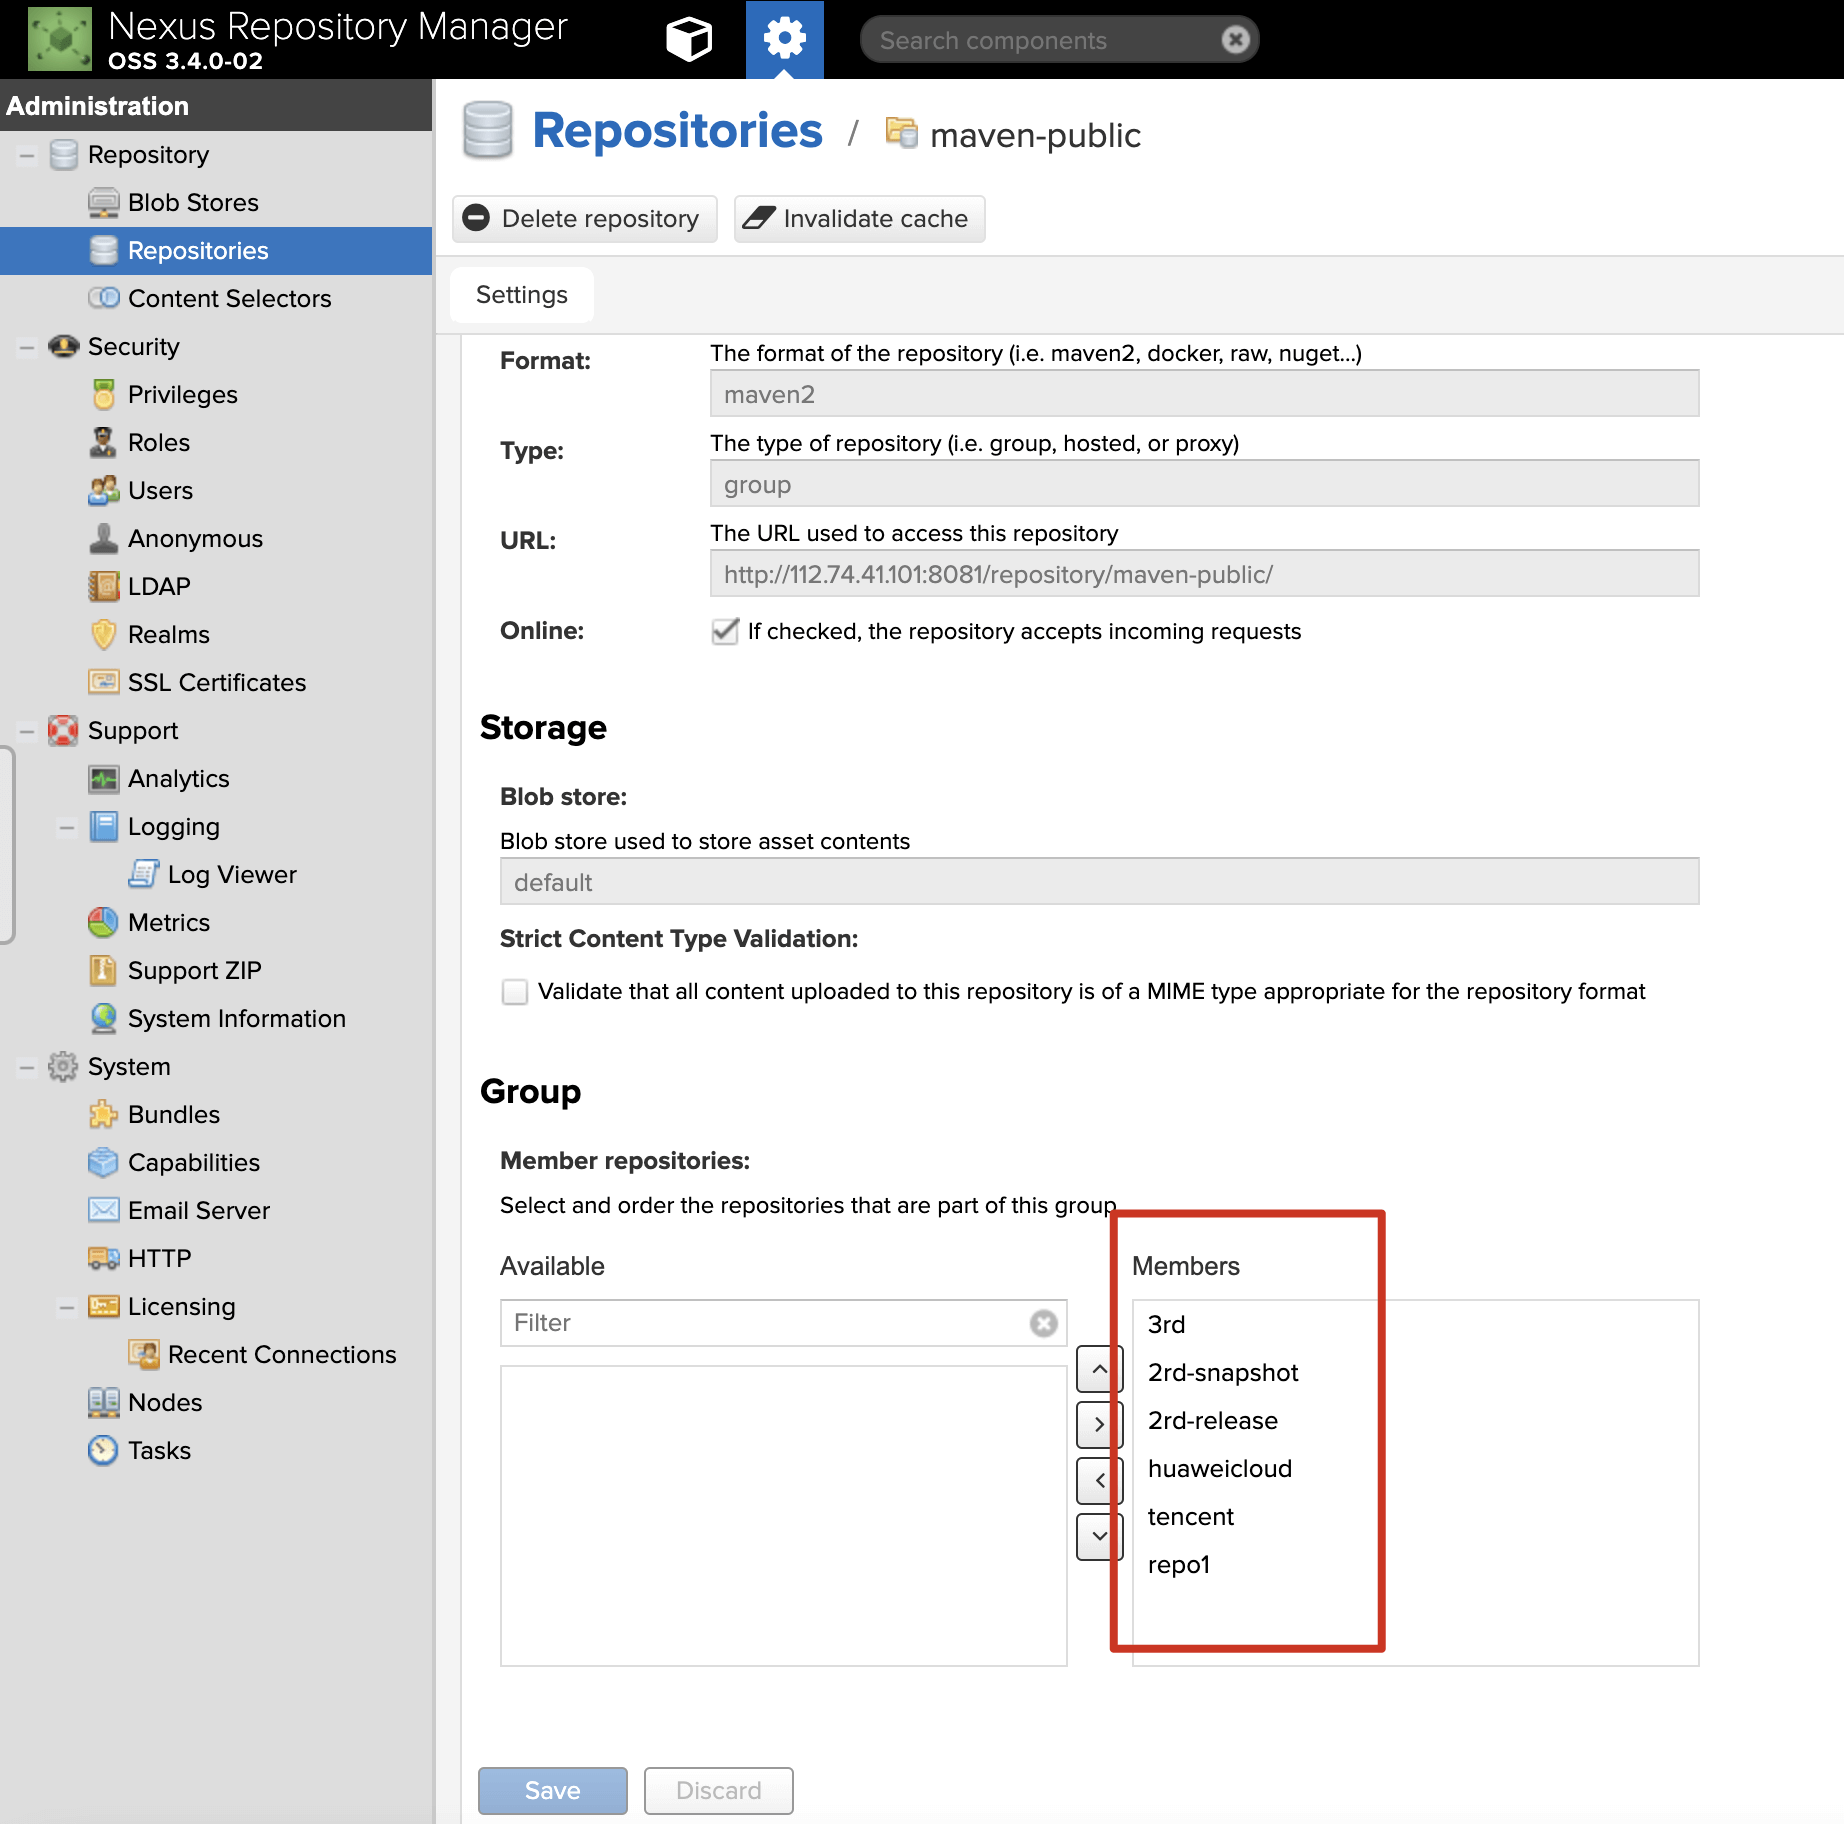
- 设置maven-public
2. maven配置文件引入
修改 **maven目录**/conf/settings.xml
xml
<?xml version="1.0" encoding="UTF-8"?>

<settings xmlns="http://maven.apache.org/SETTINGS/1.0.0" xmlns:xsi="http://www.w3.org/2001/XMLSchema-instance" xsi:schemaLocation="http://maven.apache.org/SETTINGS/1.0.0 http://maven.apache.org/xsd/settings-1.0.0.xsd">

  	<!-- 本地仓库目录 -->
    <localRepository>xxx</localRepository>

    <servers>
        <server>
            <id>2rd-release</id>
            <username>admin</username>
            <password>xxx</password>
        </server>

        <server>
            <id>2rd-snapshot</id>
            <username>admin</username>
            <password>xxx</password>
        </server>

    </servers>

    <mirrors>
        <mirror>
            <id>nexus</id>
            <url>http://{ip}/repository/maven-public/</url>
            <mirrorOf>central</mirrorOf>
        </mirror>
    </mirrors>

</settings>
修改项目 pom.xml文件
xml
<repositories>
	<repository>
		<id>maven-public</id>
		<url>http://112.74.41.101:8081/repository/maven-public/</url>
	</repository>
</repositories>

<distributionManagement>
		<repository>
			<id>2rd-release</id>
			<url>http://112.74.41.101:8081/repository/2rd-release/</url>
		</repository>
		<snapshotRepository>
			<id>2rd-snapshot</id>
			<url>http://112.74.41.101:8081/repository/2rd-snapshot/</url>
		</snapshotRepository>
</distributionManagement>