elk
约 944 字大约 3 分钟
1. elasticsearch
1. 下载
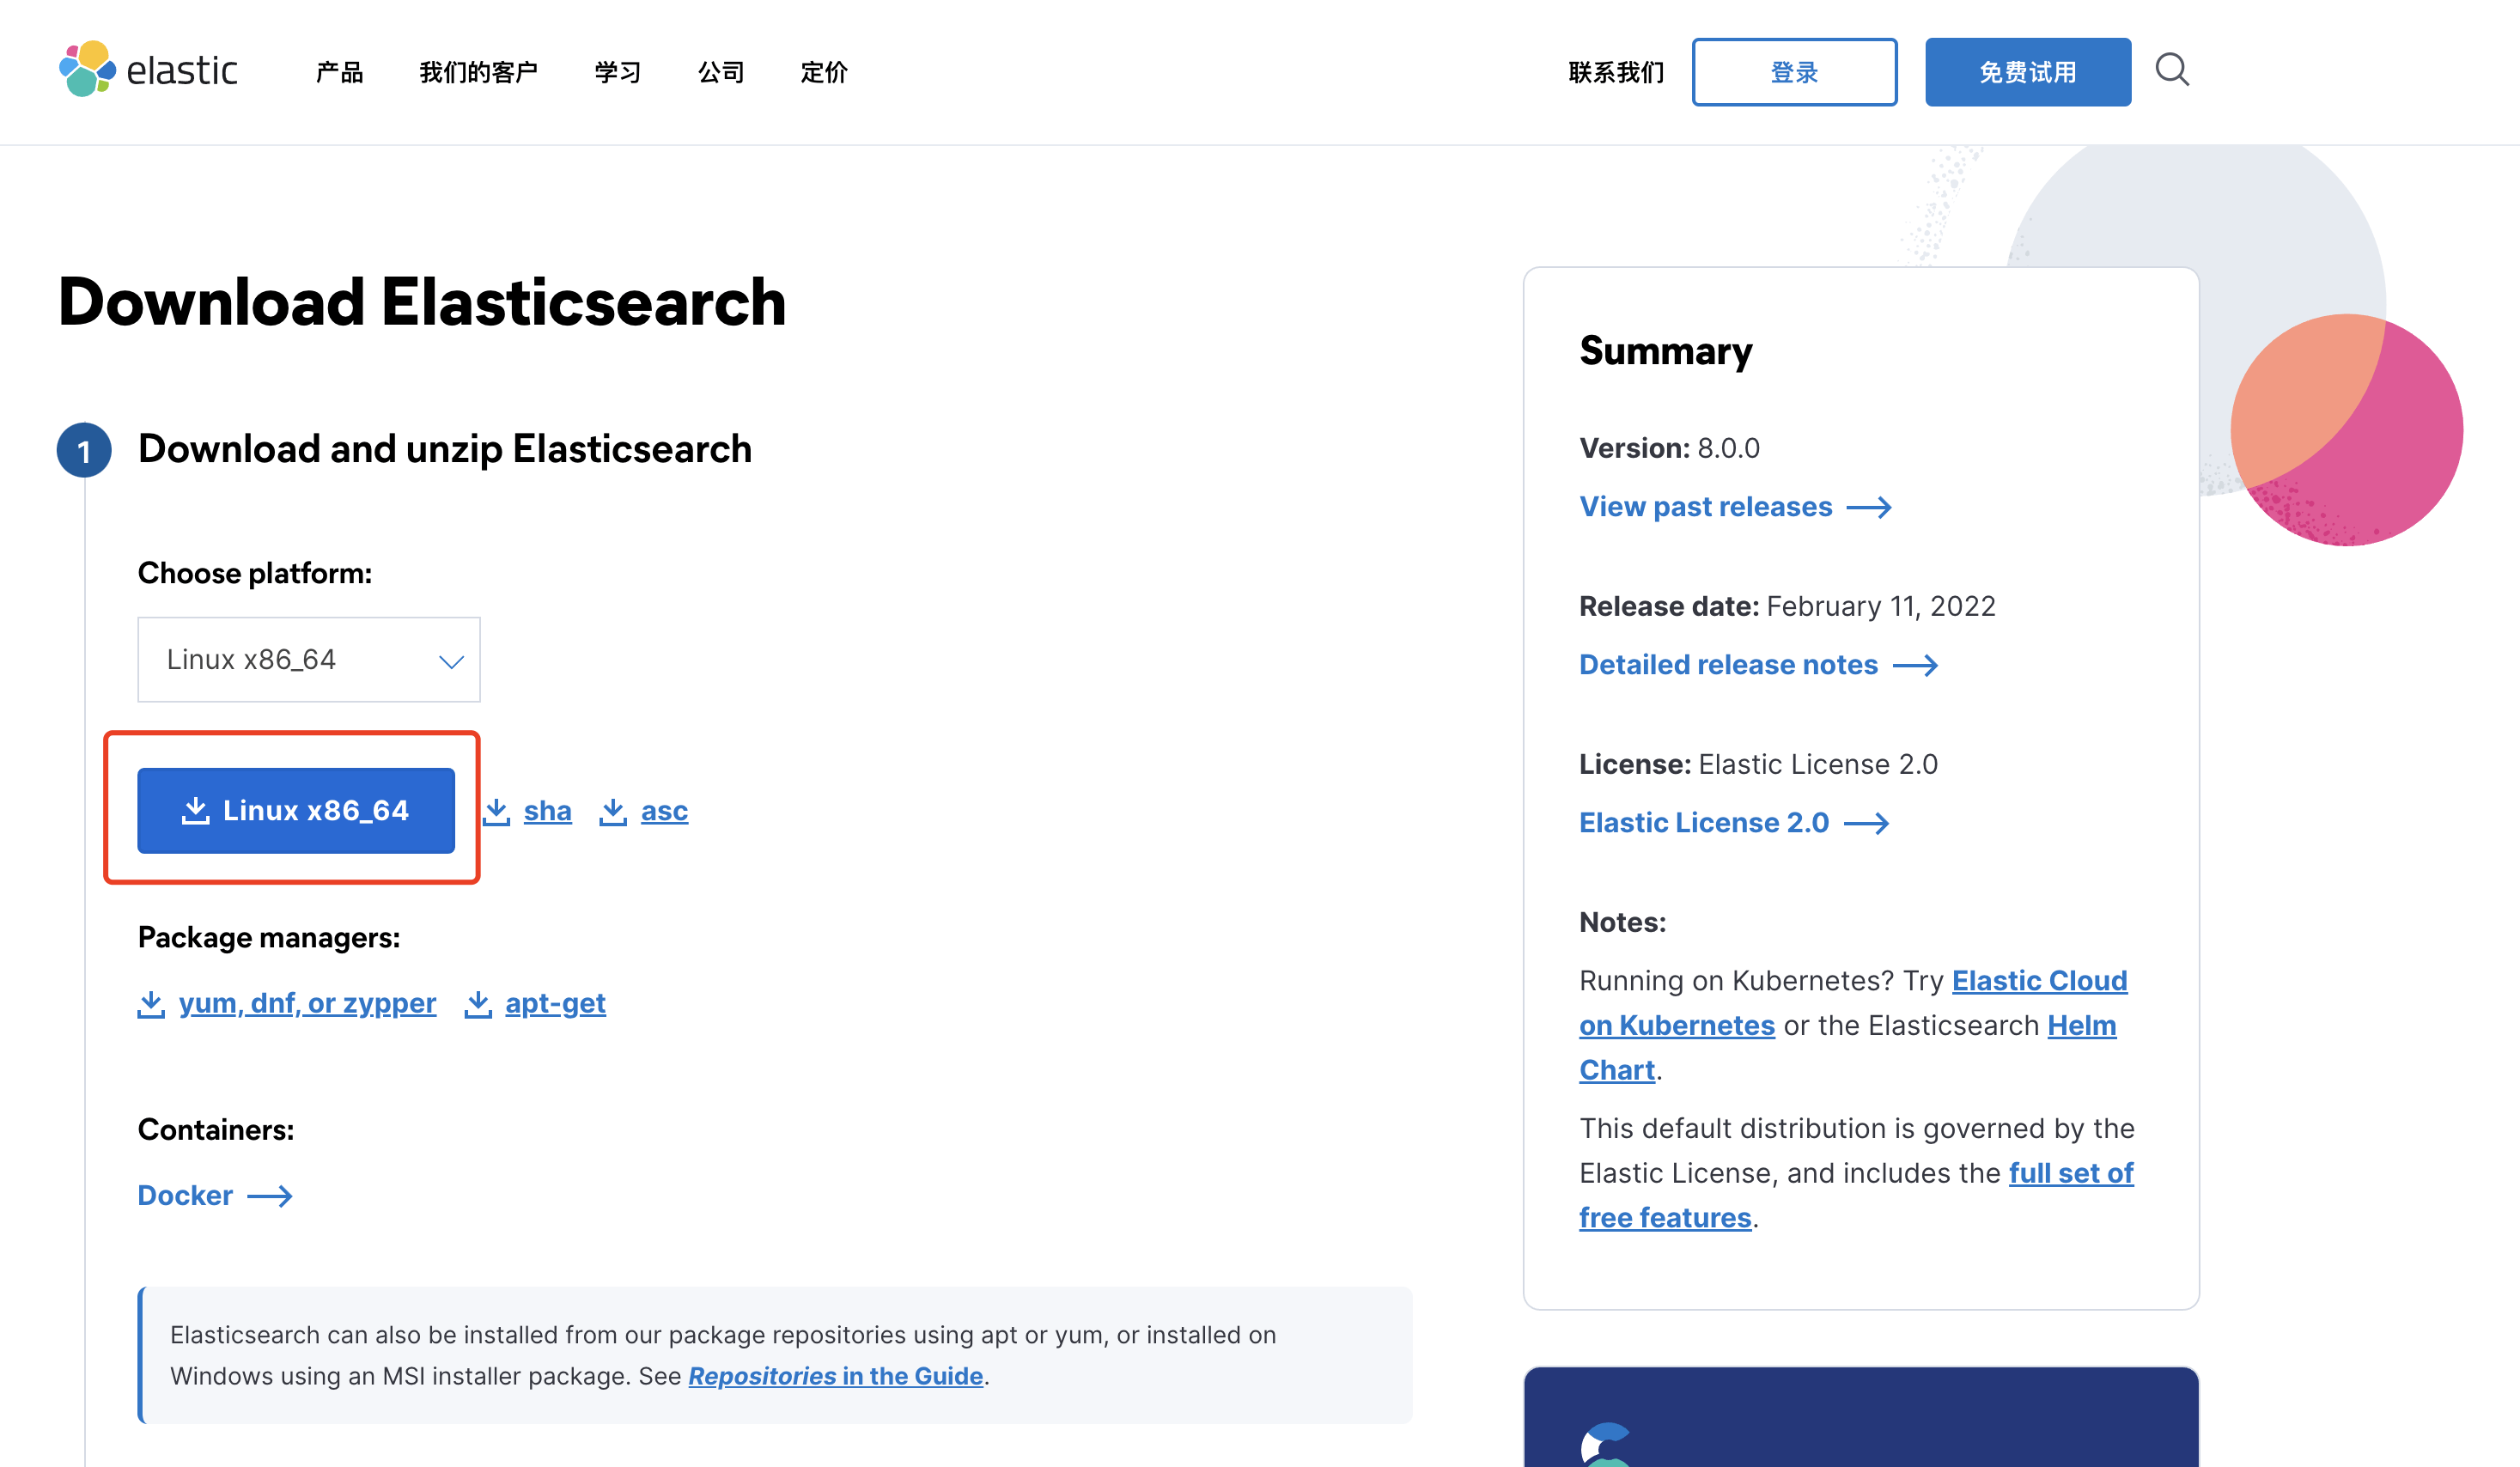
进入官网下载对应版本,本文以elasticsearch-8.0.0为例。
2. 安装
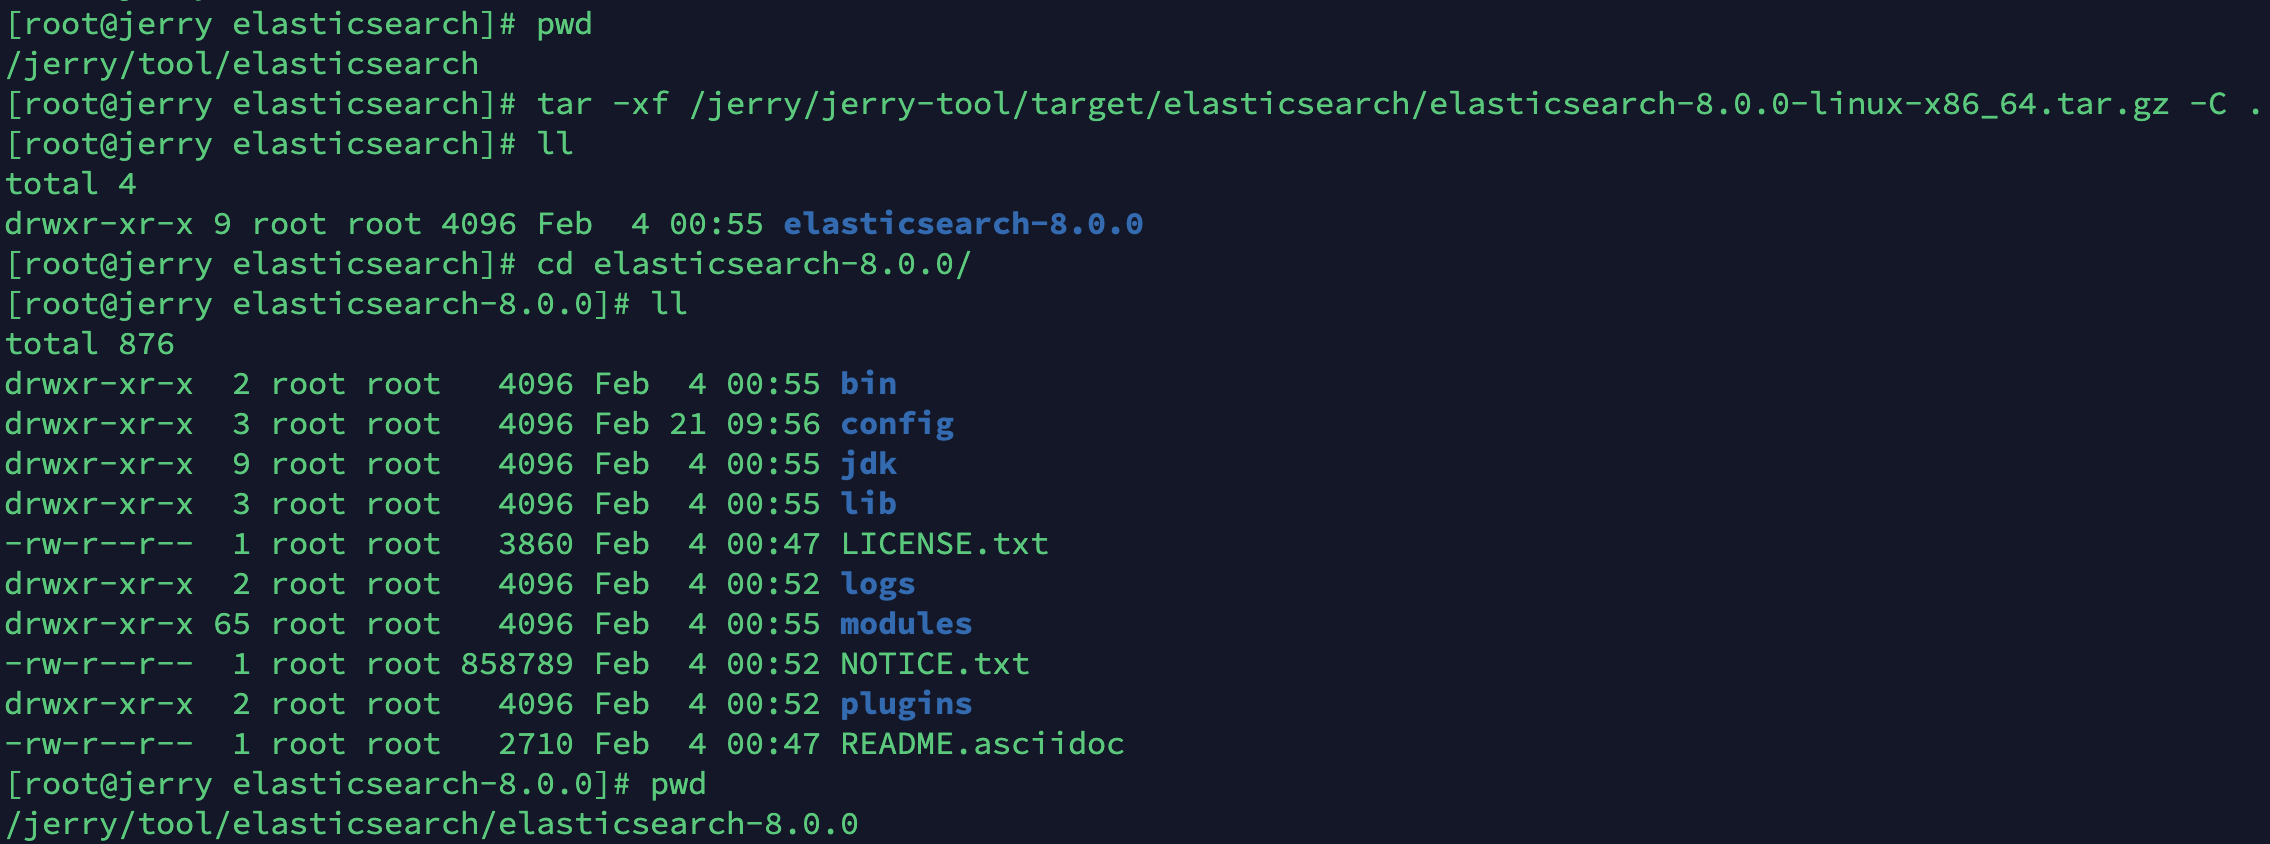
- 将压缩包进行解压
tar -xf elasticsearch-8.0.0-linux-x86_64.tar.gz
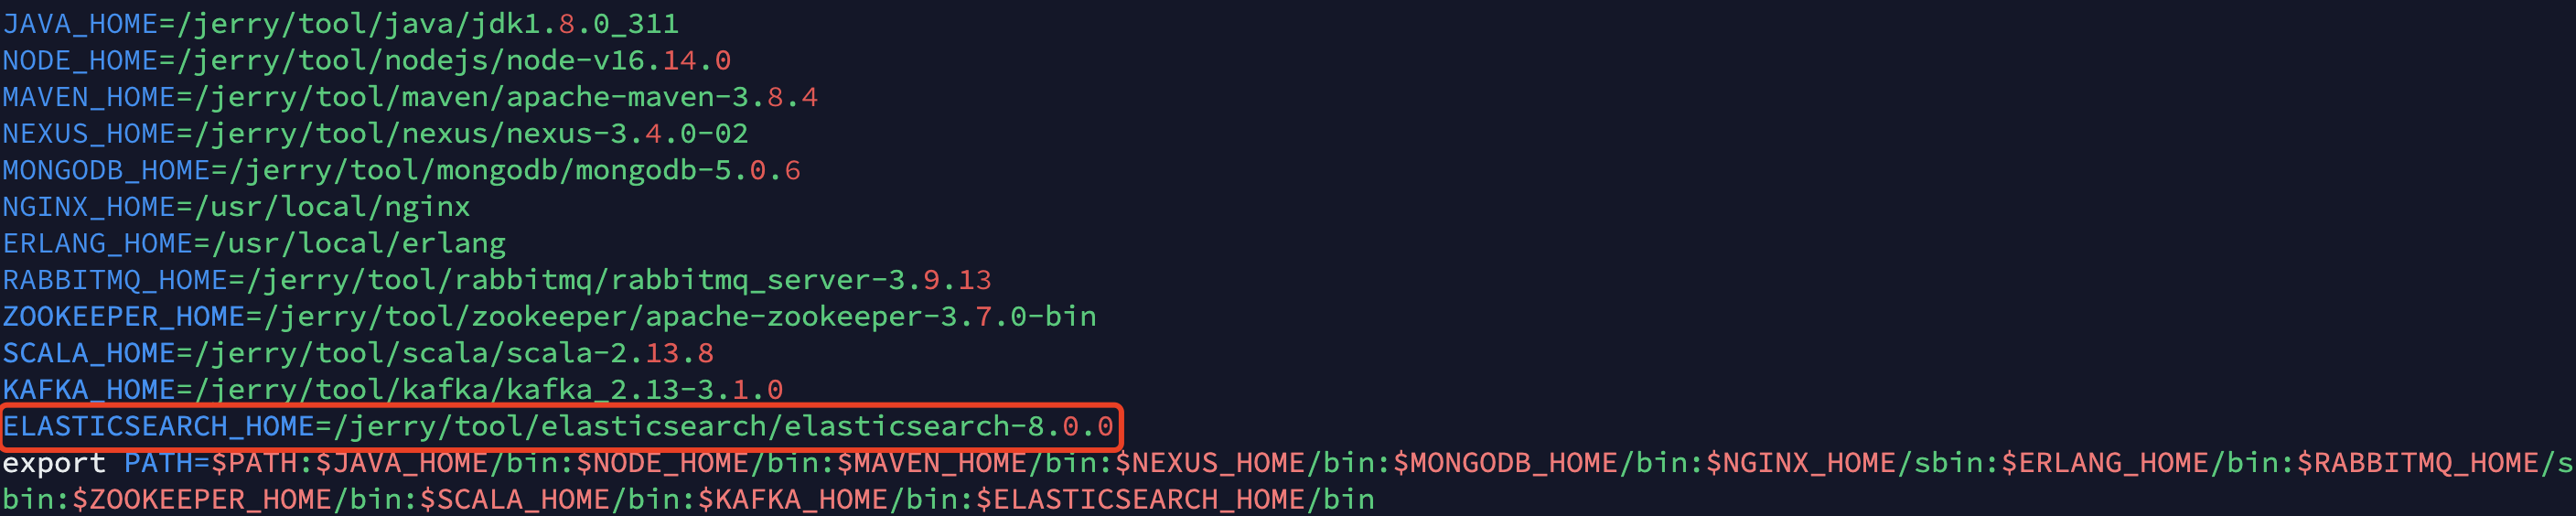
- 配置环境变量
export ELASTICSEARCH_HOME="安装路径"
PATH=$PATH:$ELASTICSEARCH_HOME/bin
export PATH
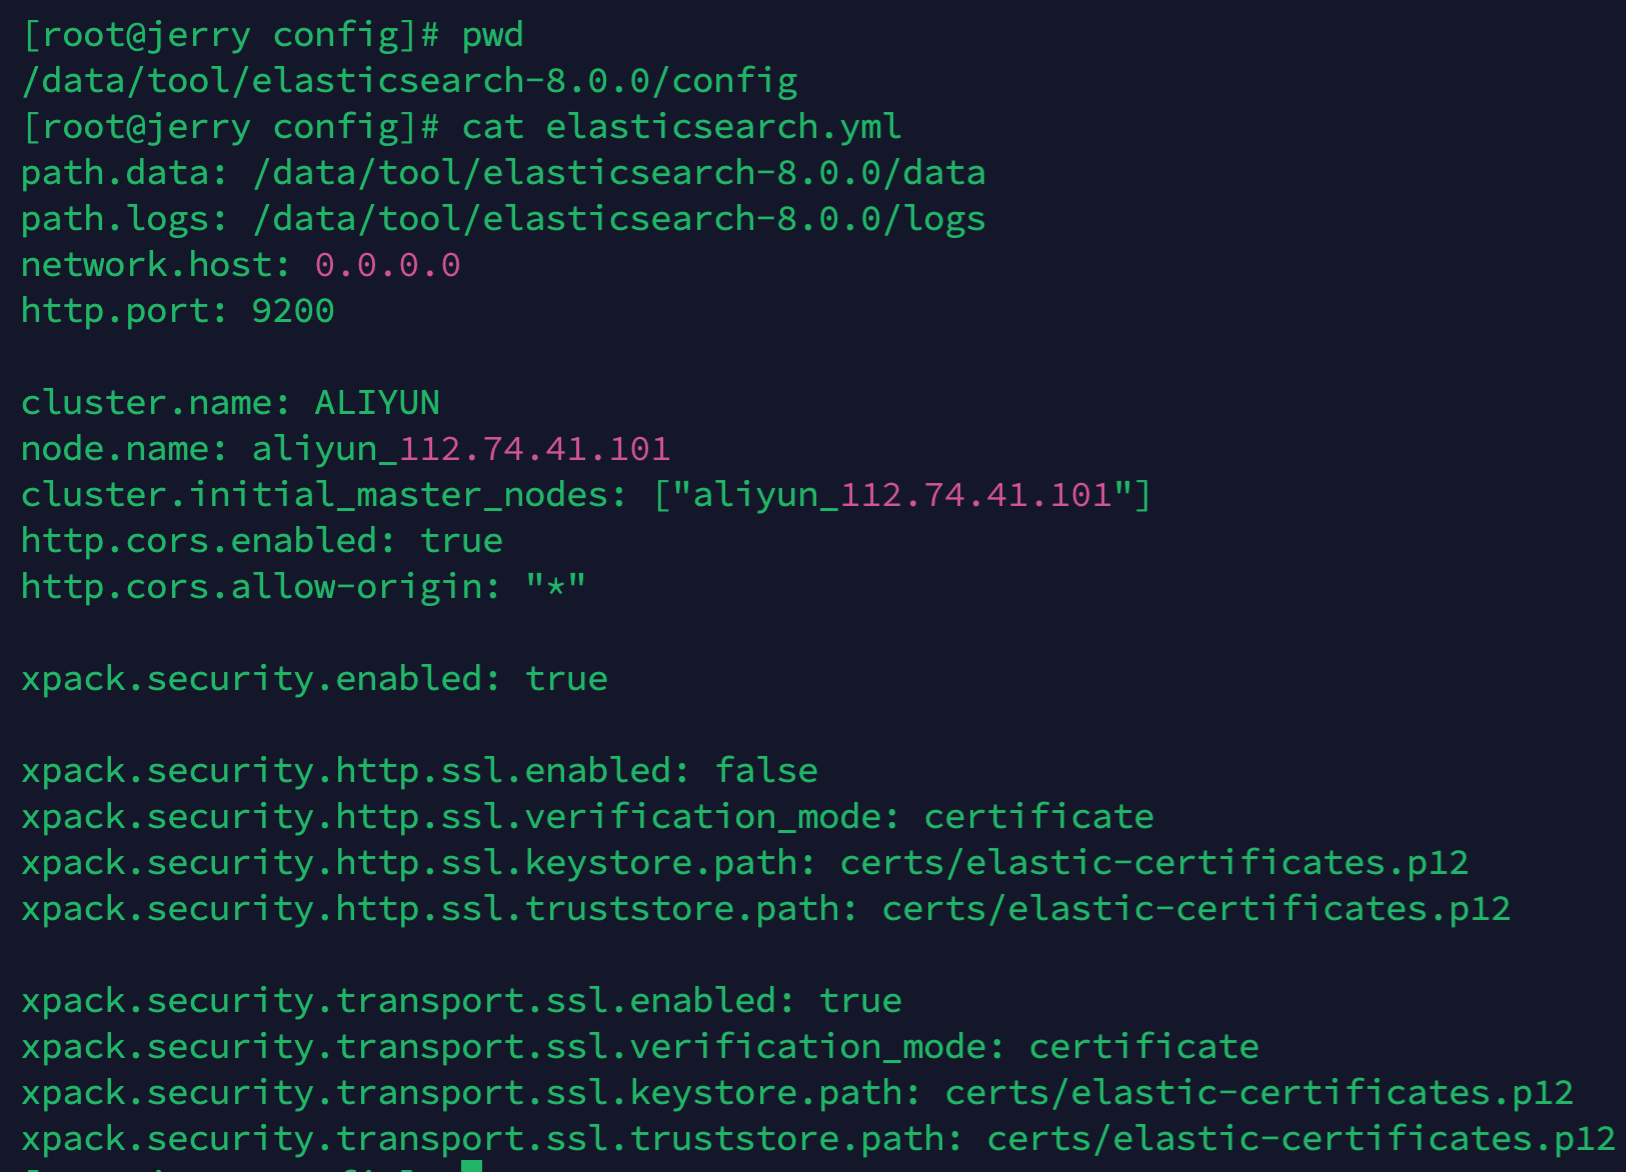
- 创建数据目录并修改配置文件
mkdir data
cp config/elasticsearch.yml config/elasticsearch.yml_bak
path.data: /jerry/tool/elasticsearch/elasticsearch-8.0.0/data
path.logs: /jerry/tool/elasticsearch/elasticsearch-8.0.0/logs
network.host: 0.0.0.0
http.port: 9200
cluster.name: jerry
node.name: aliyun-node
cluster.initial_master_nodes: ["aliyun-node"]
http.cors.enabled: true
http.cors.allow-origin: "*"

xpack.security.enabled: true

xpack.security.transport.ssl.enabled: true
xpack.security.transport.ssl.verification_mode: certificate
xpack.security.transport.ssl.keystore.path: certs/elastic-certificates.p12
xpack.security.transport.ssl.truststore.path: certs/elastic-certificates.p12

xpack.security.http.ssl.enabled: false
xpack.security.http.ssl.verification_mode: certificate
xpack.security.http.ssl.keystore.path: certs/elastic-certificates.p12
xpack.security.http.ssl.truststore.path: certs/elastic-certificates.p12
- 启动
groupadd es
useradd es -g es
passwd es
chown -R es:es elasticsearch
su es
elasticsearch -d
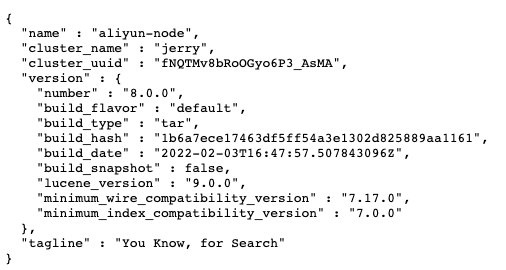
- 验证是否安装成功
浏览器访问 http://IP地址:9200/
3. 其他
Elasticsearch启动失败,查询内存情况,修改大小。


cp config/jvm.options config/jvm.options_bak
sed -i "s/## -Xms4g/-Xms512m/g" config/jvm.options
sed -i "s/## -Xmx4g/-Xmx512m/g" config/jvm.options

修改 /etc/sysctl.conf的vm.max_map_count参数, 运行 sysctl -p 生效。

2. kibana
1. 下载
进入官网下载对应版本,本文以kibana-8.0.0为例。

2. 安装
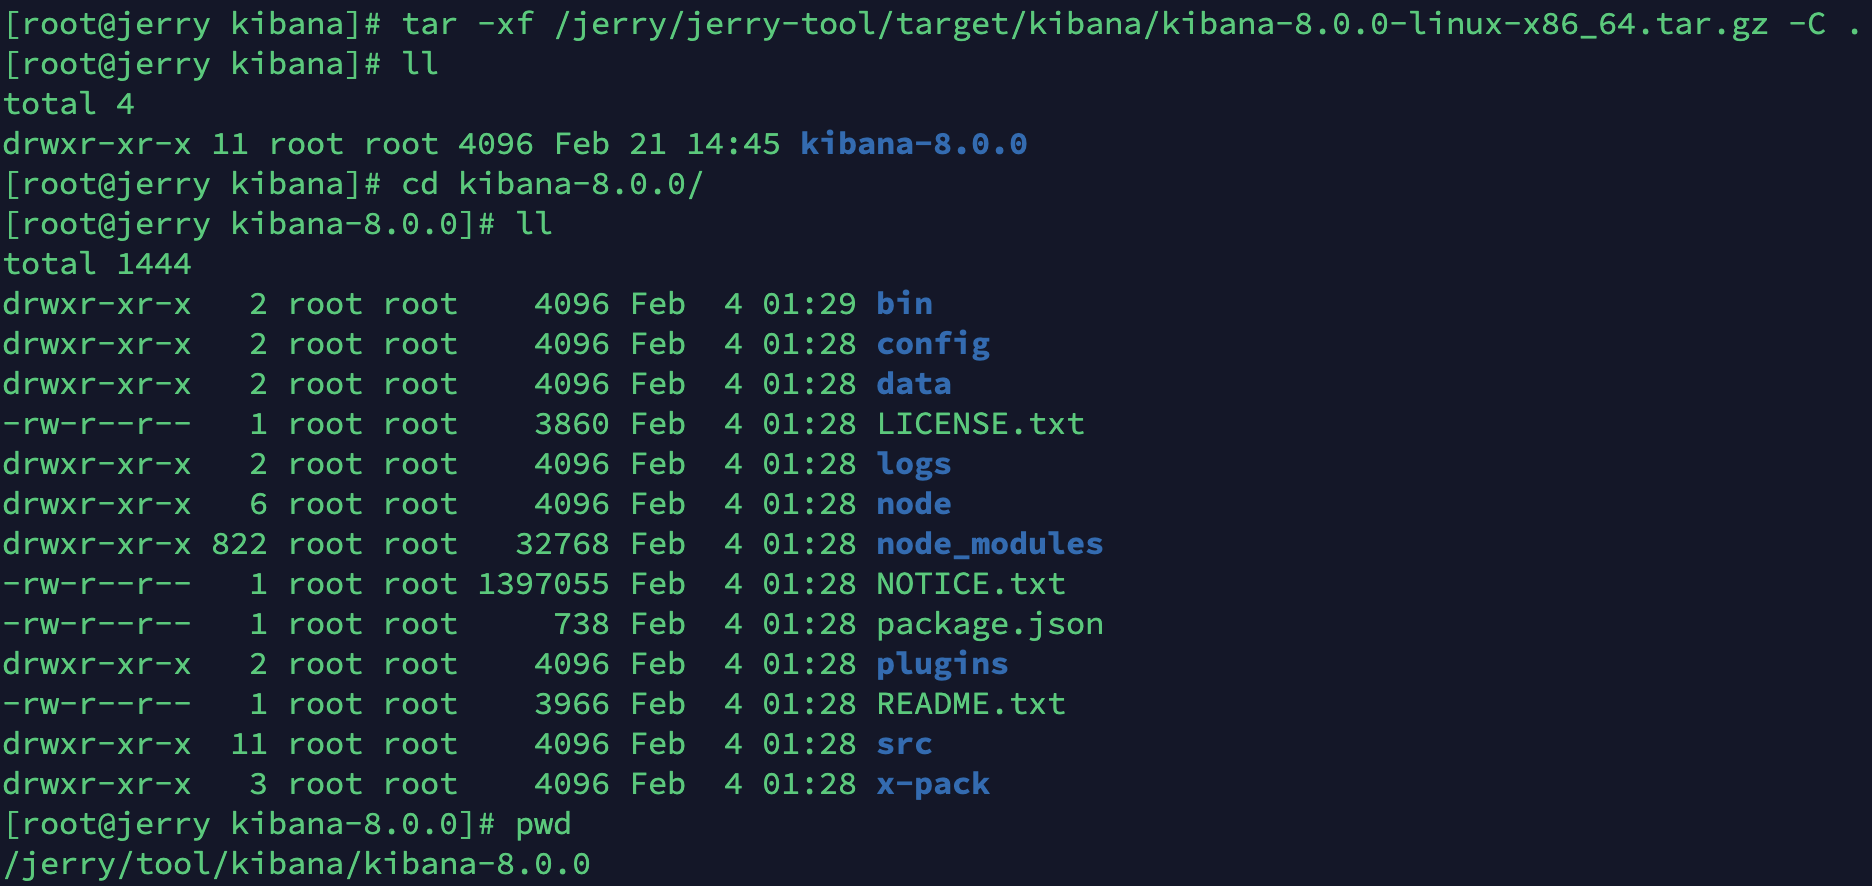
- 将压缩包进行解压
tar -xf kibana-8.0.0-linux-x86_64.tar.gz
- 配置环境变量
export KIBANA_HOME="安装路径"
PATH=$PATH:$KIBANA_HOME/bin
export PATH

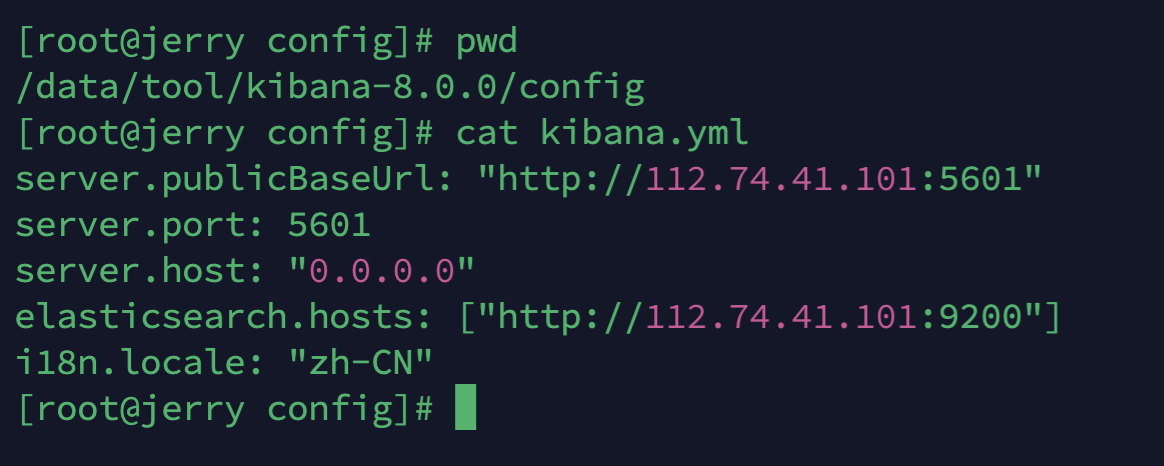
- 修改配置文件
cp config/kibana.yml config/kibana.yml_bak
server.publicBaseUrl: "http://112.74.41.101:5601"
server.port: 5601
server.host: "0.0.0.0"
elasticsearch.hosts: ["http://112.74.41.101:9200"]
i18n.locale: "zh-CN"
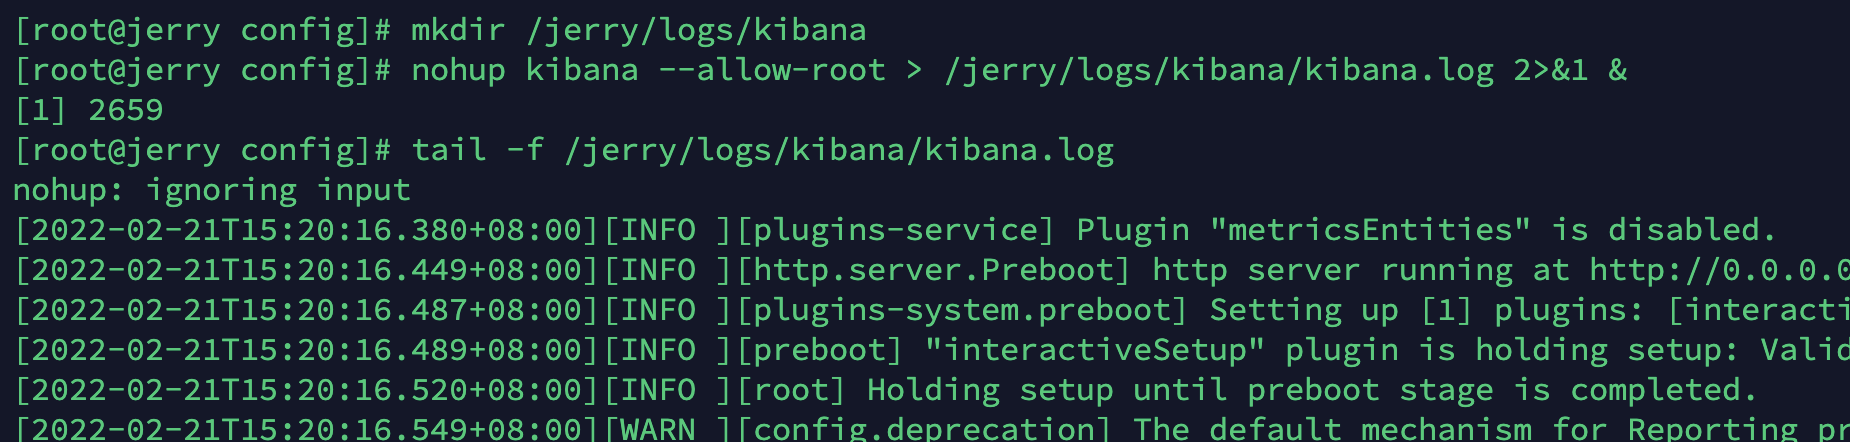
- 启动
nohup kibana --allow-root > /jerry/logs/kibana/kibana.log 2>&1 &
- 验证是否安装成功
浏览器访问 http://IP地址:5601/
3. logstash
1. 下载
进入官网下载对应版本,本文以logstash-8.0.0为例。
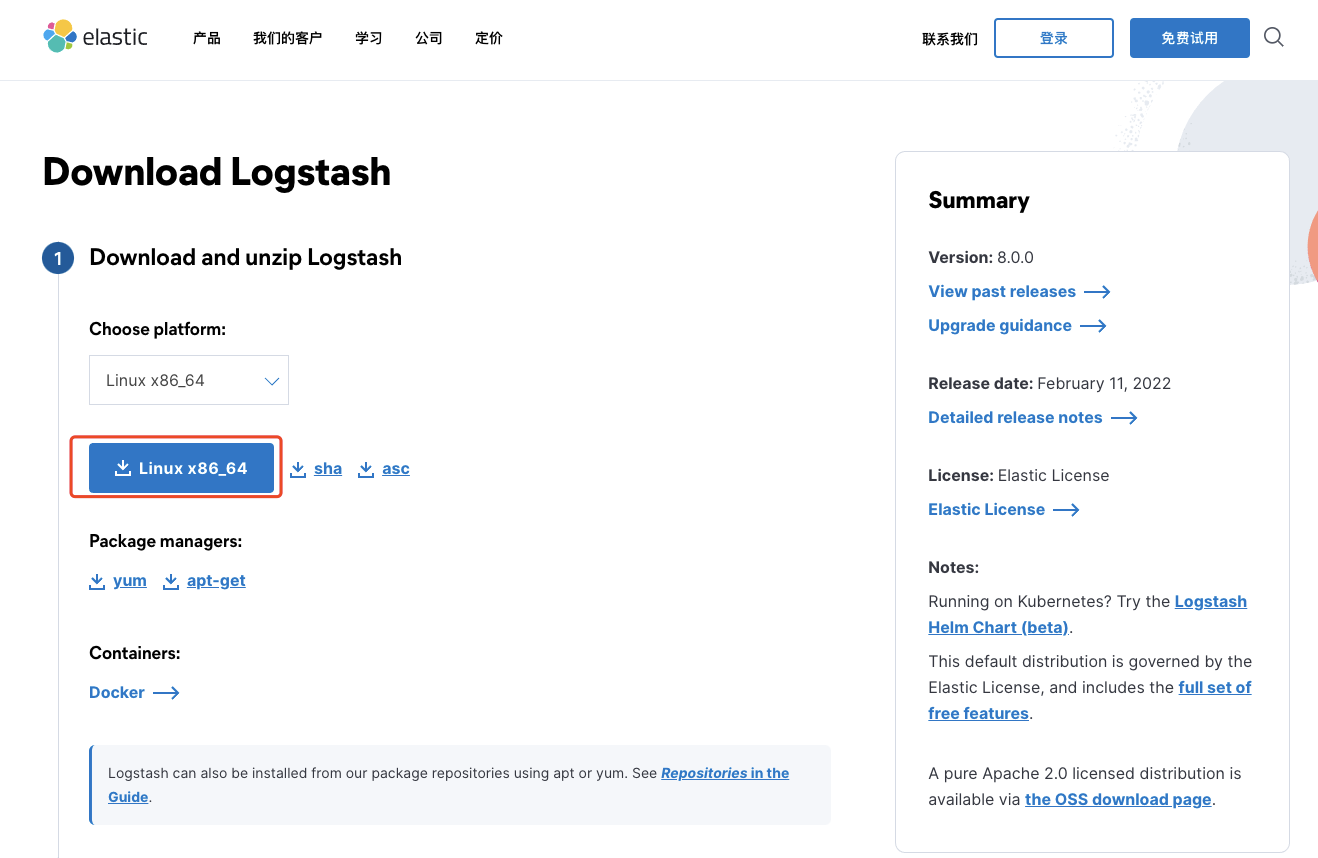
2. 安装
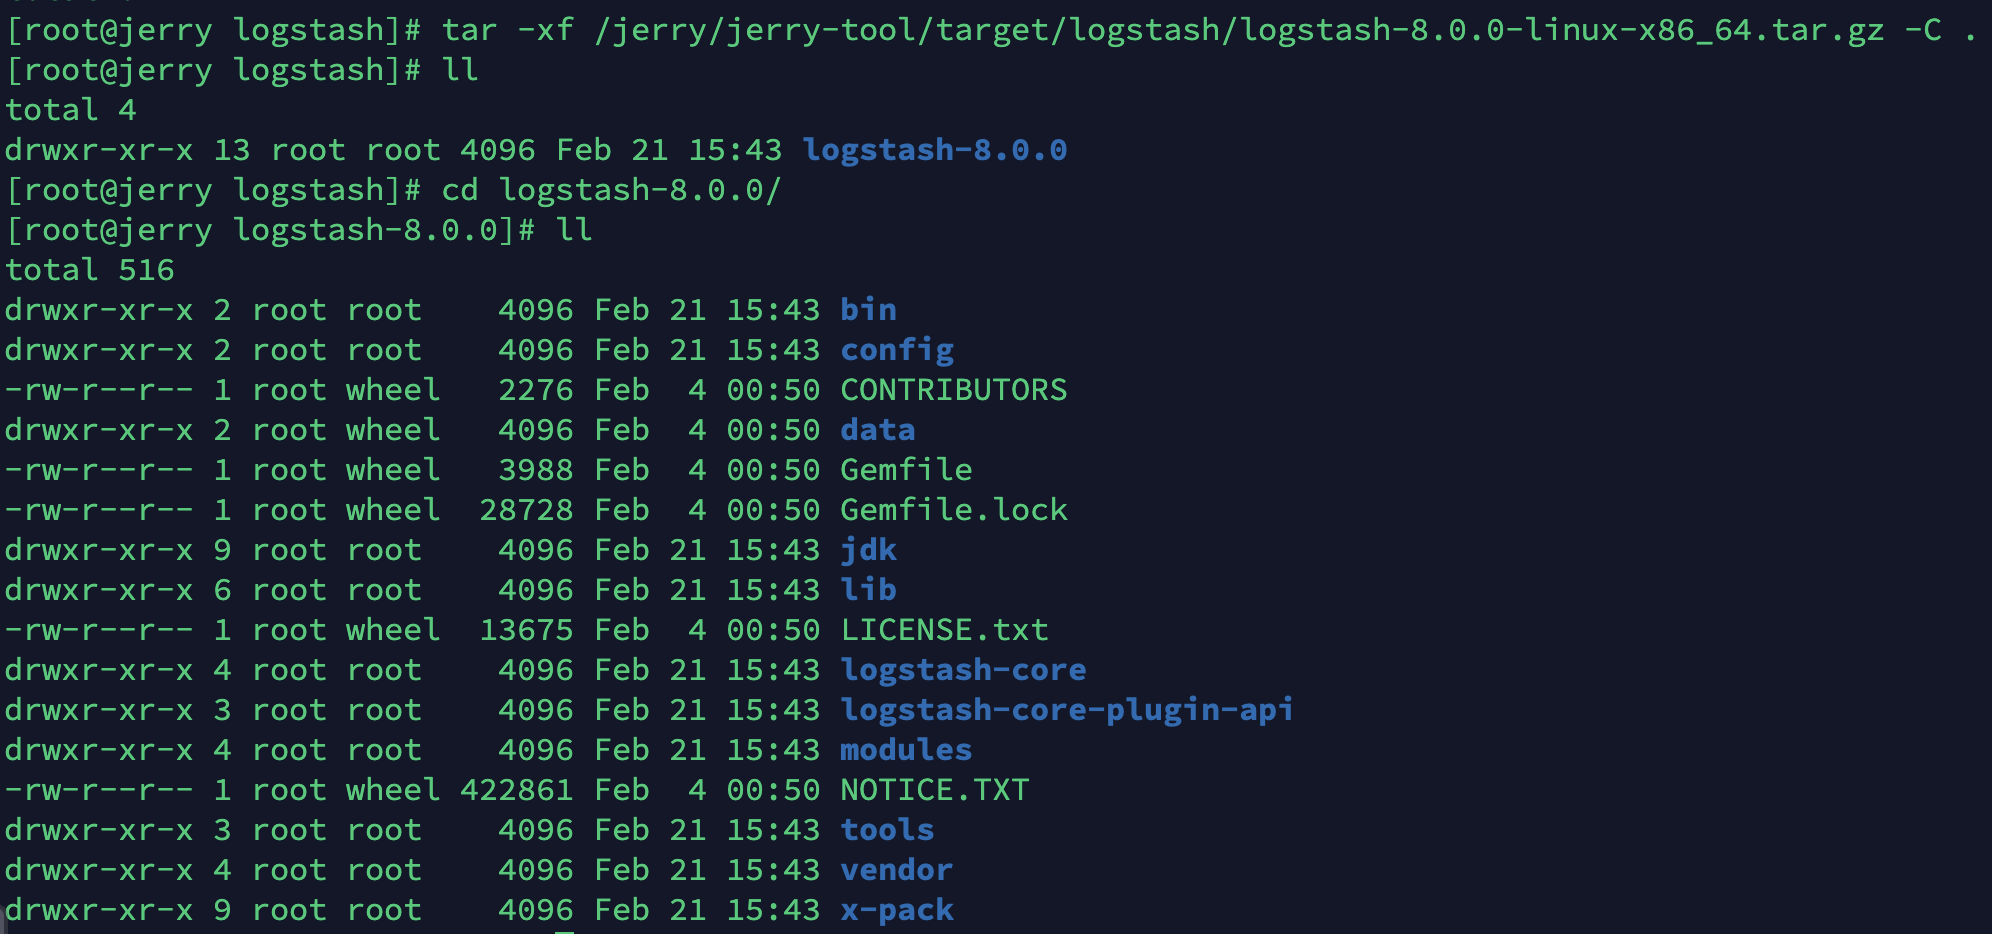
- 将压缩包进行解压
tar -xf logstash-8.0.0-linux-x86_64.tar.gz
- 配置环境变量
export LOGSTASH_HOME="安装路径"
PATH=$PATH:$LOGSTASH_HOME/bin
export PATH

- 修改配置文件
cp config/logstash.conf
input {
  beats {
    port => 5044
  }
}

filter {
  multiline {
     pattern => "^\d{4}-\d{1,2}-\d{1,2}\s\d{1,2}:\d{1,2}:\d{1,2}.\d{1,3}"
     negate => true
     what => "previous"
  }
  grok {
    match => [
      "message", "%{TIMESTAMP_ISO8601:logTime}\ \[\S+\] \[%{LOGLEVEL:logLevel}\]"
    ]
  }
  ruby {
    code => "
      logPath = event.get('log')['file']['path']
        if logPath
            begin
              serverNameList = logPath.scan(Regexp.new('(?<=jerry-web\/).*?(?=\/)'))
              event.set('serverName', serverNameList[0])
            rescue Exception
                event.set('serverName', '')
            end
        else
            event.set('serverName', '')
        end
      "
  }
}

output {
  elasticsearch {
    hosts => ["http://localhost:9200"]
    index => "%{[fields][env]}-%{+YYYY.MM.dd}"
  }
}

- 安装插件
logstash-plugin install logstash-filter-multiline
logstash-plugin list
- 启动
nohup logstash -f /jerry/tool/logstash/logstash-8.0.0/config/logstash.conf > /jerry/logs/logstash/logstash.log 2>&1 &
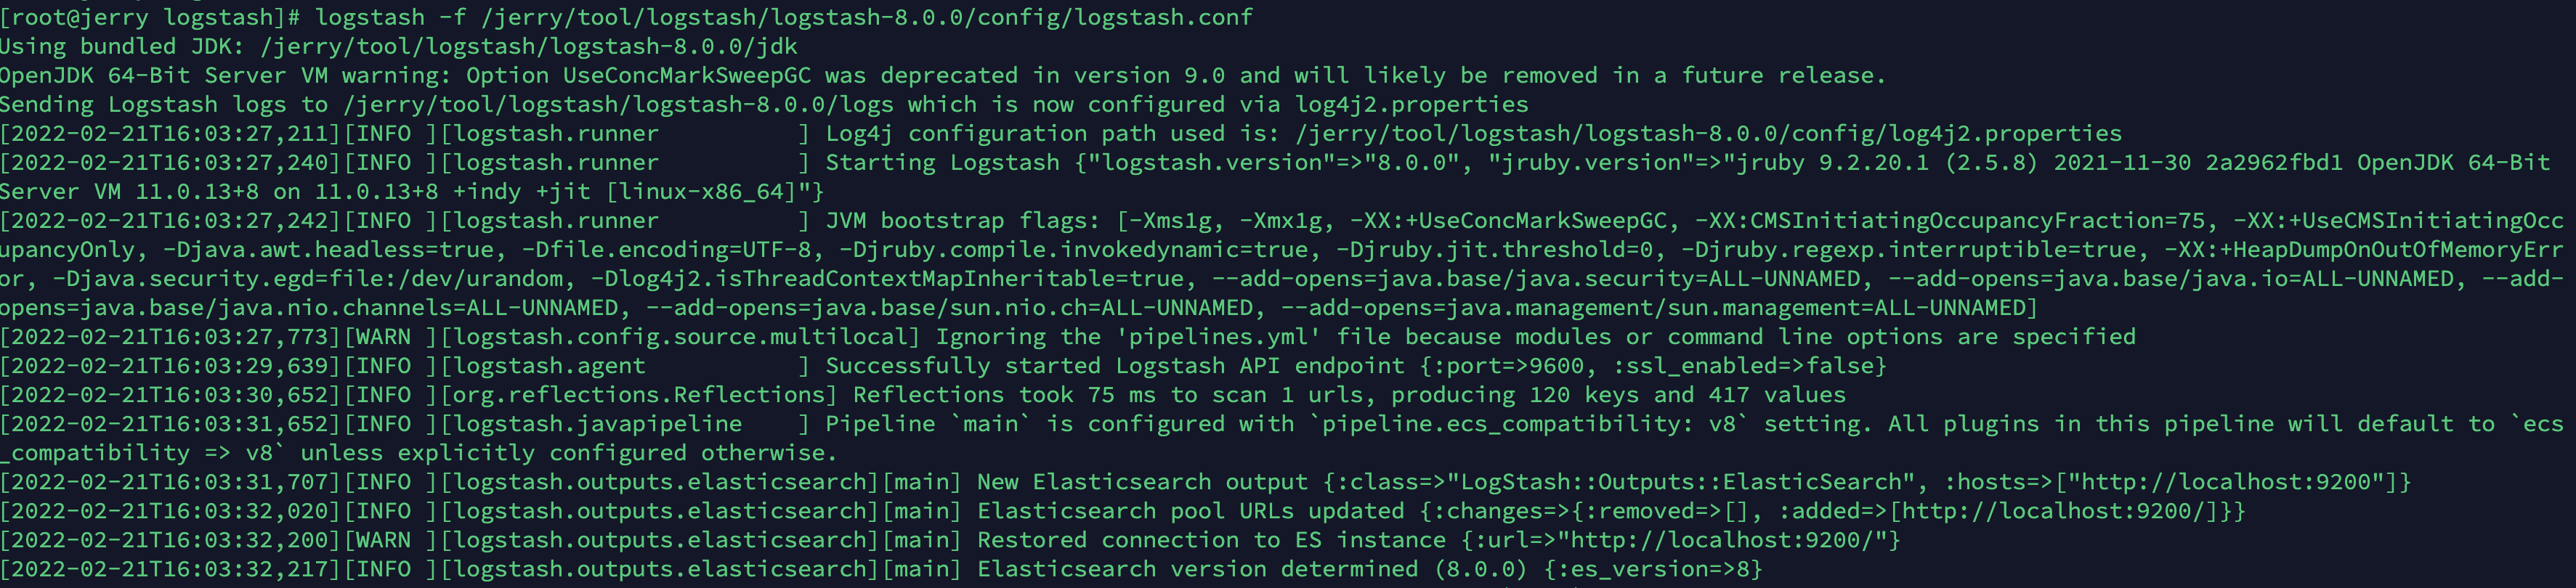
- 验证是否安装成功
查看启动日志
tail -f /jerry/logs/logstash/logstash.log

4. filebeat
1. 下载
进入官网下载对应版本,本文以filebeat-8.0.0为例。
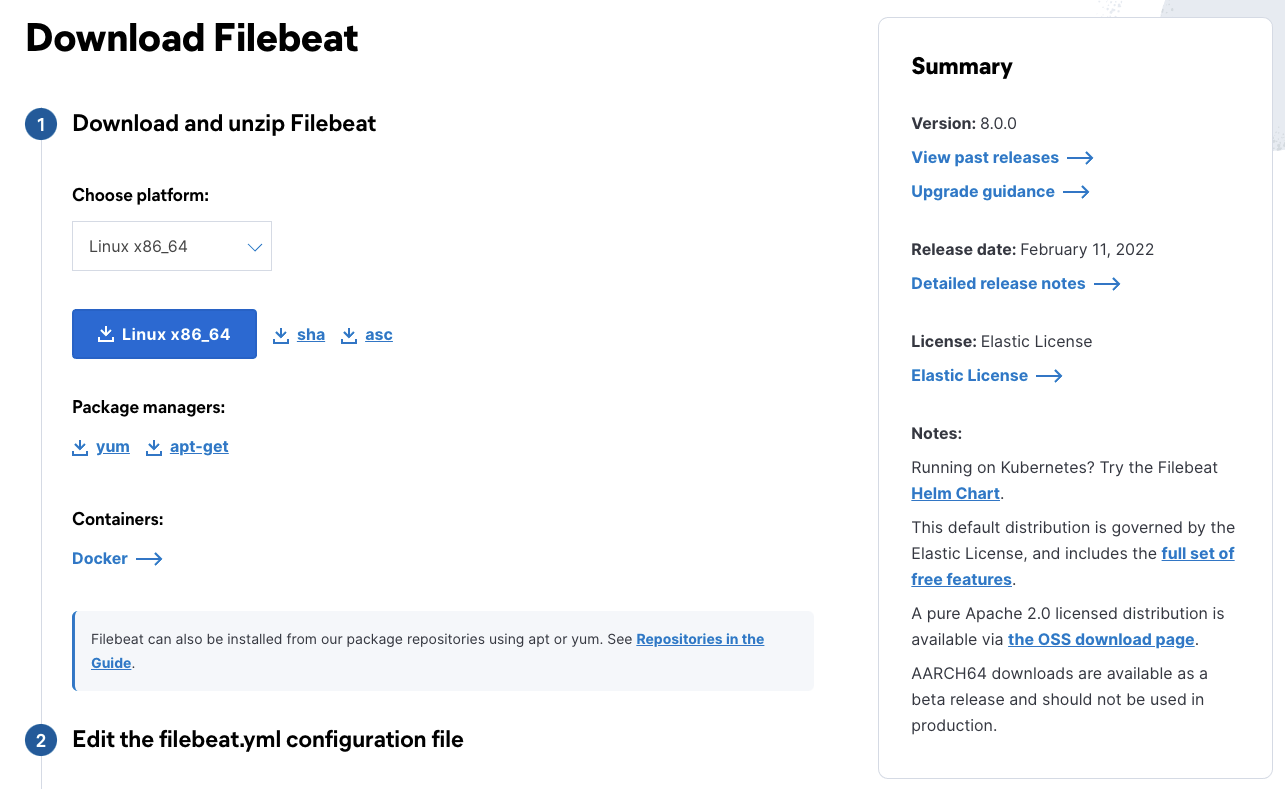
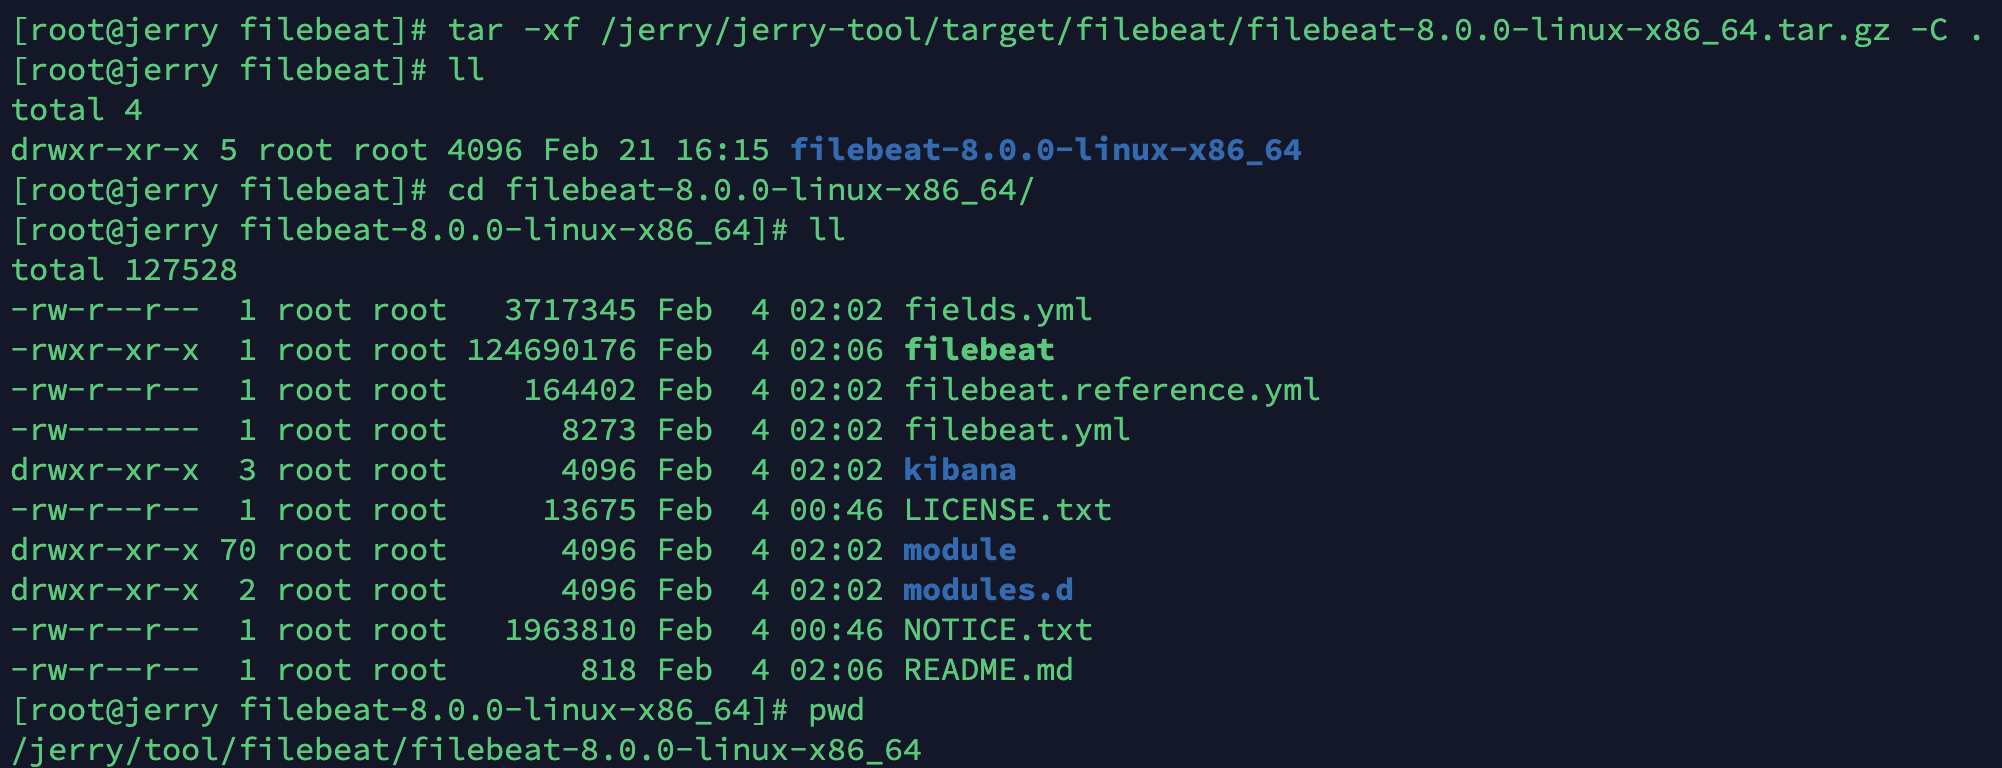
2. 安装
- 将压缩包进行解压
tar -xf filebeat-8.0.0-linux-x86_64.tar.gz
mv filebeat-8.0.0-linux-x86_64 filebeat-8.0.0
- 配置环境变量
export FILEBEAT_HOME="安装路径"
PATH=$PATH:$FILEBEAT_HOME/bin
export PATH

- 修改配置文件
vim filebeat.yml
filebeat.inputs:
- type: log
  enabled: true
  paths:
    - /jerry/logs/*/*.log
  fields:
  # 加入env字段标识不同环境
   env: tool

filebeat.config.modules:
  path: ${path.config}/modules.d/*.yml
  reload.enabled: false
setup.template.settings:
  index.number_of_shards: 1

setup.kibana:
output.logstash:
# logstash 地址
  hosts: ["localhost:5044"]
processors:
  - add_host_metadata:
      when.not.contains.tags: forwarded
  - add_cloud_metadata: ~
  - add_docker_metadata: ~
  - add_kubernetes_metadata: ~
- 启动
nohup filebeat > /jerry/logs/filebeat/filebeat.log 2>&1 &

- 验证是否安装成功
查看启动日志
tail -f /jerry/logs/filebeat/filebeat.log
5. 配置X-Pack
建议输入密码的地方直接回车,否则需要运行第三步设置秘钥
su eselasticsearch-certutil caelasticsearch-certutil cert --ca elastic-stack-ca.p12- 移动
elastic-certificates.p12 elastic-stack-ca.p12至 config/certs 目录下 - 设置秘钥
elasticsearch-keystore add xpack.security.transport.ssl.keystore.secure_password
elasticsearch-keystore add xpack.security.transport.ssl.truststore.secure_password

elasticsearch-keystore add xpack.security.http.ssl.keystore.secure_password
elasticsearch-keystore add xpack.security.http.ssl.truststore.secure_password
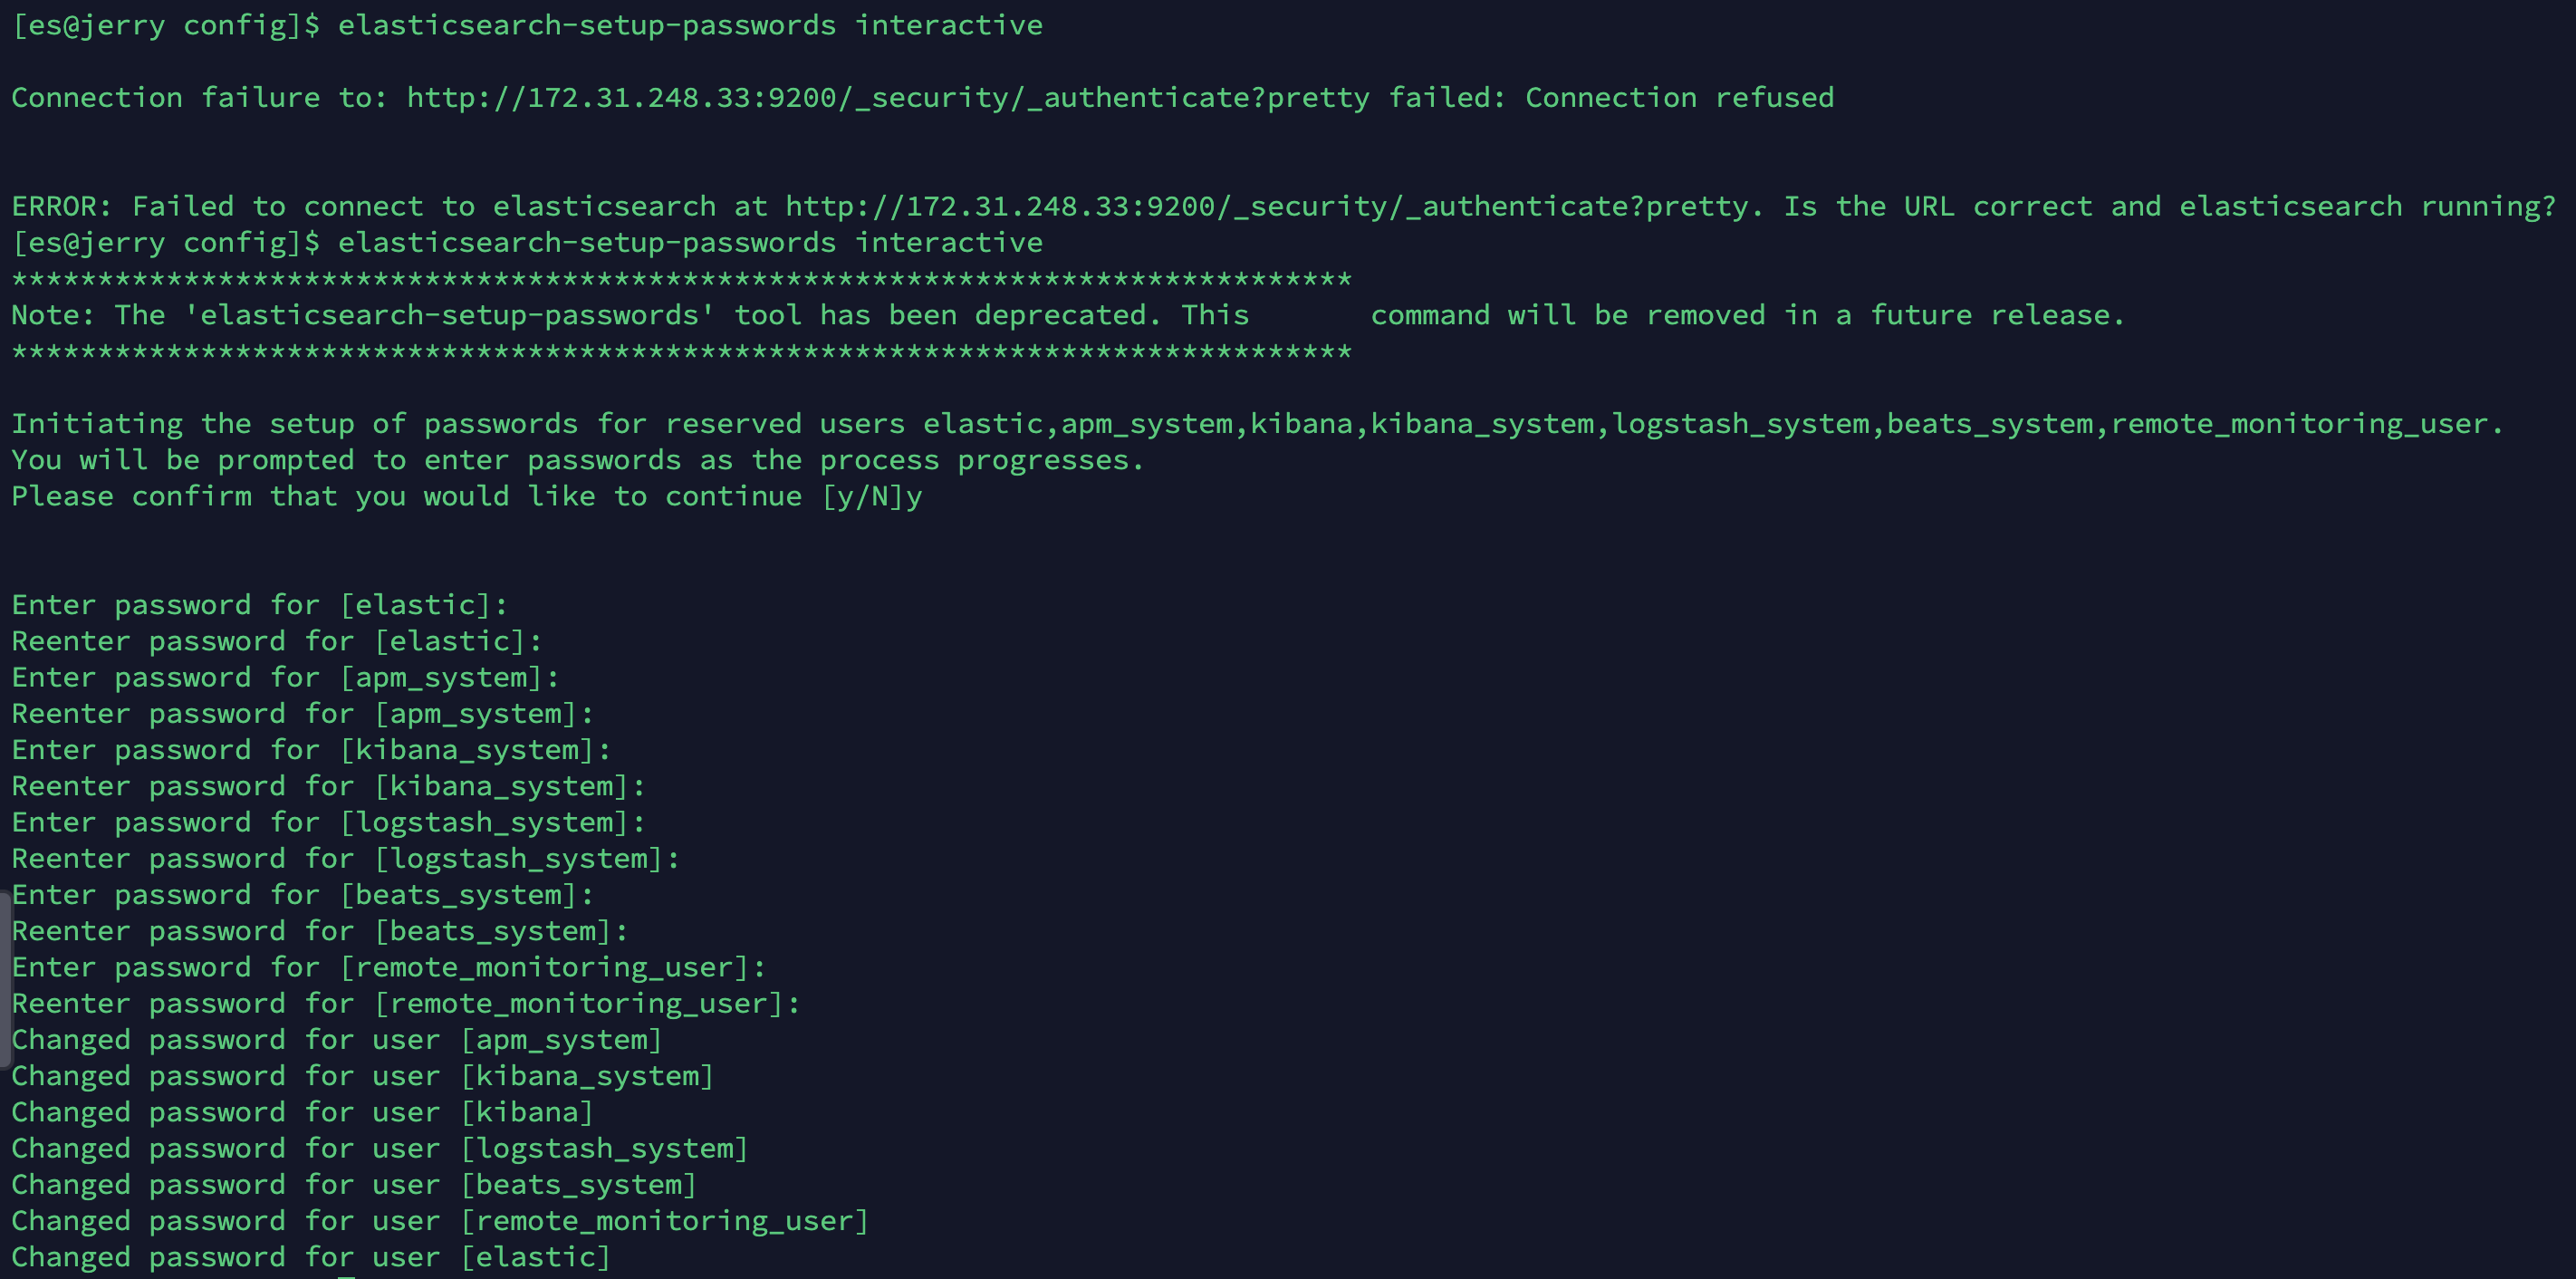
elasticsearch-setup-passwords interactive
- 设置连接es密码
kibana-keystore create
kibana-keystore add elasticsearch.username
# 输入 kibana_system
kibana-keystore add elasticsearch.password

logstash-keystore create
logstash-keystore add KEYSTORE_ES_USER
# 输入 elastic
logstash-keystore add KEYSTORE_ES_PWD